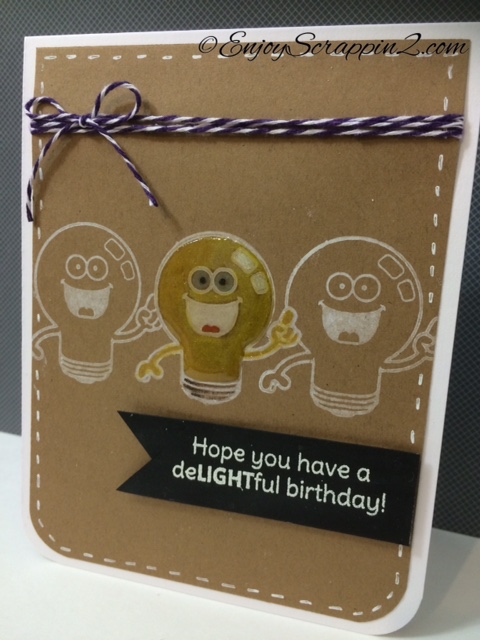
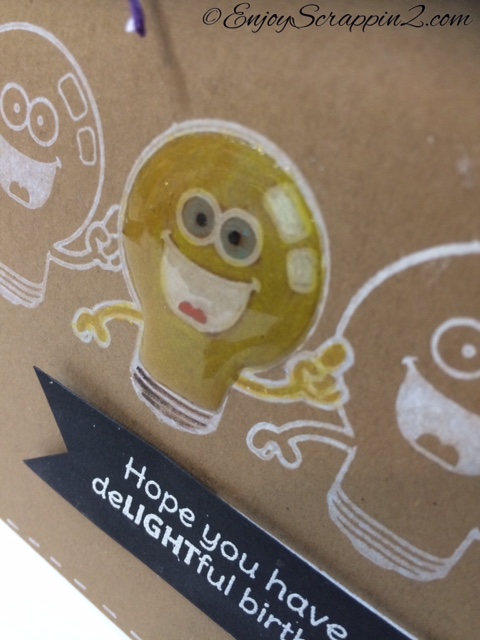
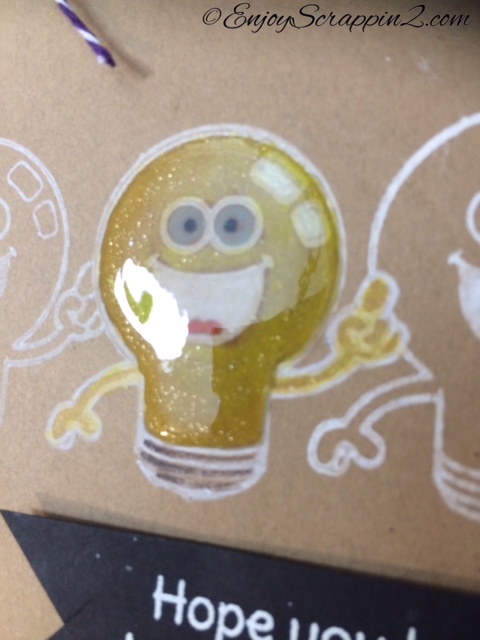
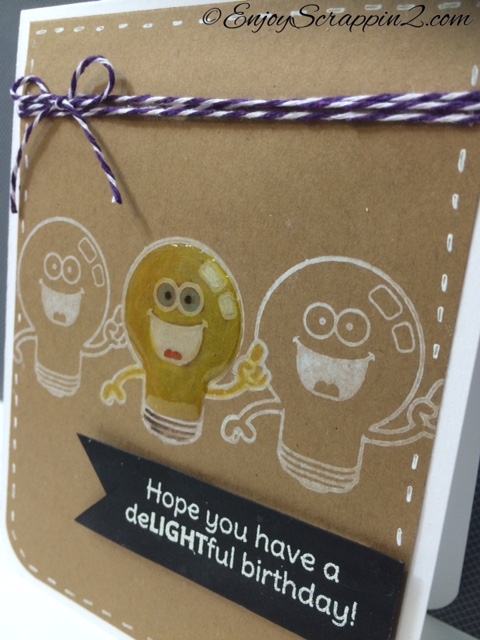
Today I’m making a card for Tupelo Designs LLC. I decided to use the Spectrum Noir Color pencils on Kraft Card stock using Your Next Stamps stamp called Perfect Chemistry. I really love Your Next Stamp’s stamps, they carry variety of stamps for all your stamping needs. What I love about their stamps the most, is their clever sentiments. Today I decided to do some coloring using the Spectrum Noir’s color pencils on Kraft card stock. Spectrum Noir carries 5 different sets of pencils, each having 24 pencils inside. The sets come in Primary, Essentials, Nature, Marine, and Floral. Tupelo Designs LLC carries all 5 sets. I’m only using the Primary set today to color the light bulb from the Perfect Chemistry set. I used the White Unicorn pigment ink to stamp the images and colored only the center light bulb. I really like color pencils on Kraft and I really like the way this card turned out. Something different and fun. I hope you like this card and please subscribe and follow for more inspirations and ideas. Thanks again 🙂
Today I’m doing some watercoloring, and I’m using this inexpensive watercolor set to color in my images and create my background. The stamp set I’m using is Wplus9, Going Places. Super cute stamp set. you can either tuck in the critter in the hot air ballon or you can have them hanging, like I did on this card. I wanted to share that you don’t necessarily need to spend a lot of money, in order to watercolor. You can start out with a set like this and see if you like it. Then you can decide if you want to spend a little more. I created a background doing some embossing, which will resist the watercolors. I’ve embossed some clouds with white embossing powder and added just 2 shades of Blues, just dabbing the watercolor to the paper. I didn’t want to make the colors even, since were creating the sky portion. I stamped the hot air balloon and the rabbit on a separate sheet of watercolor card stock and watercolored them as well. I fussy cut them out so that I can pop them up on to our background. I made a pretty ample card today. I hope you like this card and I thank you so much for stopping by. I still have the GIVEAWAY going on until tomorrow, Thursday at Midnight so go head over to my Youtube. Subscribe and comment of your chance to win some prizes. I appreciate you guys so much, thanks again!
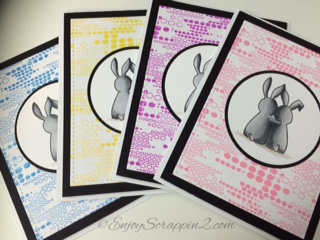
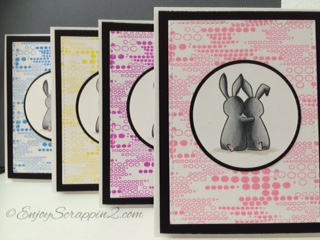
Today I’m making some cards for Tupelo Designs LLC. With the Holiday’s approaching, I’ll be making many sets of Cards so that I can give them as gifts. You’ll be seeing many more of these, that’s for sure. I decide to make a set of 4 and I made my own background paper using the Penny Black’s Blips background stamp with Rangers Dye inks. Rangers Dye inks are very bright and I love the colors they offer. I thought it would be fun to make different color backgrounds with the same stamped image. When you are mass producing cards, it’s easier to do it in assembly style. I first prepared all the card stocks that I’ll be using: 4 card bases (110lb Neenah), 4 black mats, 4 background paper, etc….
I’m using the Wplus9 stamp set, Wishing you and I chose out the 2 bunnies that has the back toward us. I stamped out 4 of them in a 2 1/2″ circle and colored them using my Copic Markers. This is going to be very clean and simple. It’s best to keep it that way, so that you can create these cards pretty fast. I then assembled everything together. I did not put a sentiment to these cards, because I like to add them later, depending on who I’m giving these too. You can also stamp multiple sentiments on a separate piece and give them together. Then they can choose which sentiment they want to use, and just attach it to the card. I hope you like this clean and simple card set and I thank you guys so much for stopping by. Be sure to subscribe and follow for more inspirations and ideas. All the supplies I used will be located below, if you’re interested in any of the supplies I used today. Thanks again and I’ll catch you guys next time.
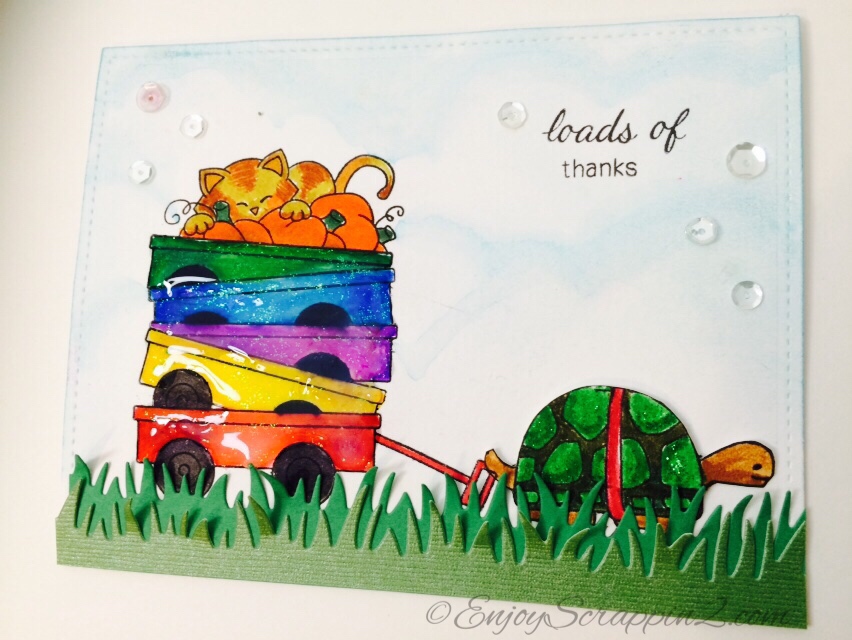
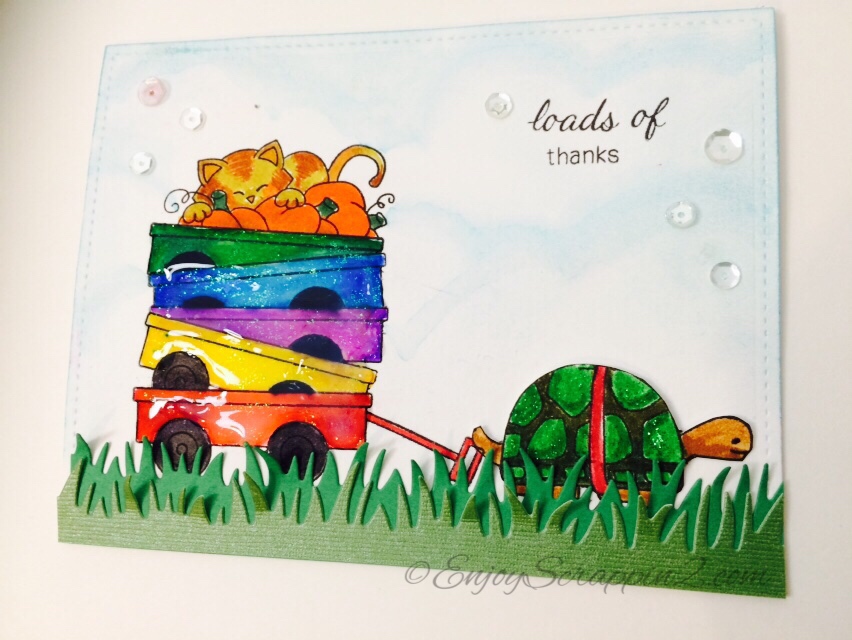
Today I’m making a card for Tupelo Designs LLC and I’ll be using my Zig Clean Color Real Brush Markers. These markers are Amazing!! I have numerous number of watercolor mediums, but these markers are by far my favorite! You can use them with water or without. That’s what makes these markers very unique. It also has a real brush, rather than the felt tips we’re use to, for watercolor markers.
The stamp set that I’ll be using today is Newton’s Nook Designs Stamp set. This stamp set is very versatile, for all year round. It has a wagon, and it has different things you can put in the wagon. I think that’s super fun. I wanted to make a rainbow of wagon, stacked on top of each other, with newton on the top of the wagon, hiding behind the pumpkins. I could only fit 5 wagons on this card, but you can easily make a whole card, just with the wagons. I colored them with different colors using the Zig clean color markers and I didn’t use any water to blend. I just used the markers itself, to do the blending. I chose out a light and a dark from each color family, to do the blending. These markers blend beautifully and they are very easy to use. They are very highly pigmented to give you a super bright color, or you can add water to make the colors softer. I’ll be showing both techniques today. I colored all the images, without the water but I used water on the clouds, to give a softer look. Please check out the video and you can see for yourself, how fun and easy these markers are to use.
Just like I mentioned in the video, you don’t need to have a ton of color You can easily control the intensity of the color by using it with or without the water. Tupelo Designs LLC has several different packs available but they also sell the singles as well. What’s great about these markers is that, you can buy them individually. Which means, you can start with a smaller set if you like, and build your collection over time. I hope you enjoy this card and please subscribe and follow if you want to see more inspirations and ideas. All the supplies I used will be located below, for your convenience. Thanks again!
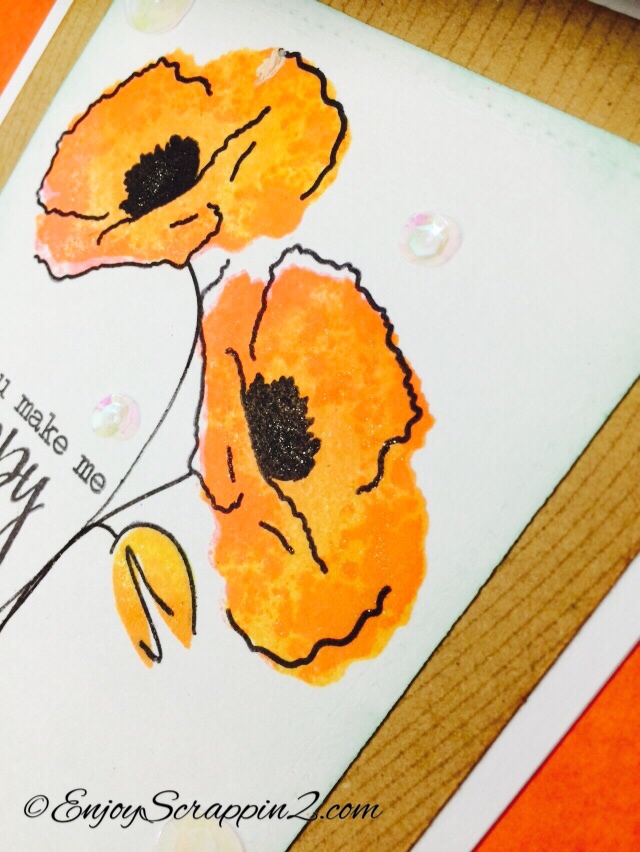
Today I’m making a CAS, Clean and Simple card using the Altenew Painted poppy stamp set. I wanted to make it like a watercolor look so I used the Hero Arts Ombre ink pad along with the distress stains. Please excuse my voice, I’m sick so my voice sounds horrible. I’m not going to write to much today so go ahead and watch the video for a step by step of this card. I thank you guys so much for stopping by and please subscribe and follow for more inspirations and ideas. Thanks again
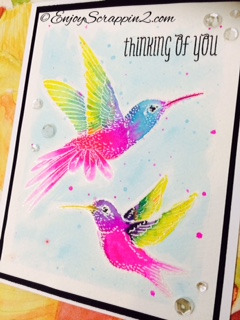
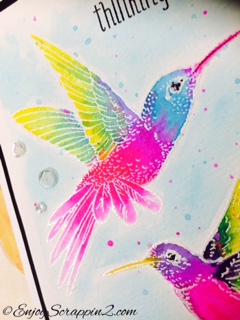
Today I’m making a card for Tupelo Designs LLC and I’ll be doing some simple watercoloring using the Peerless Watercolors. The stamp set that I used are these Stampendous Jumbo Hummingbird stamp set. I personally love their Jumbo stamp line because they are so fun to color. They are very large so you can experiment with all types of mediums, and have fun. Today I decided to emboss these birds using the Wow white pearl powder, which will give us this soft watercolor look. I used the Peerless watercolors today, and if you haven’t tried these watercolors, I recommend them very much. They come in paper form and it has a highly pigmented colors on them so they are very easy to work with. This is one of my favorite watercolor set. The colors are so rich and vibrant, they are absolutely gorgeous. If you have a hard time staying in the lines when you watercolor, try embossing the stamp first. This will make the embossed lines raise up, which will help you stay in the lines. I just love how these birds turned out, and I love the colorful look, these birds have. I hope you enjoyed this card and please check out the video for step by step instructions. I thank you guys so much for stopping by and all the supplies I used will be located below if you want to check that out. Please subscribe and follow for more inspirations and ideas. Thanks again.
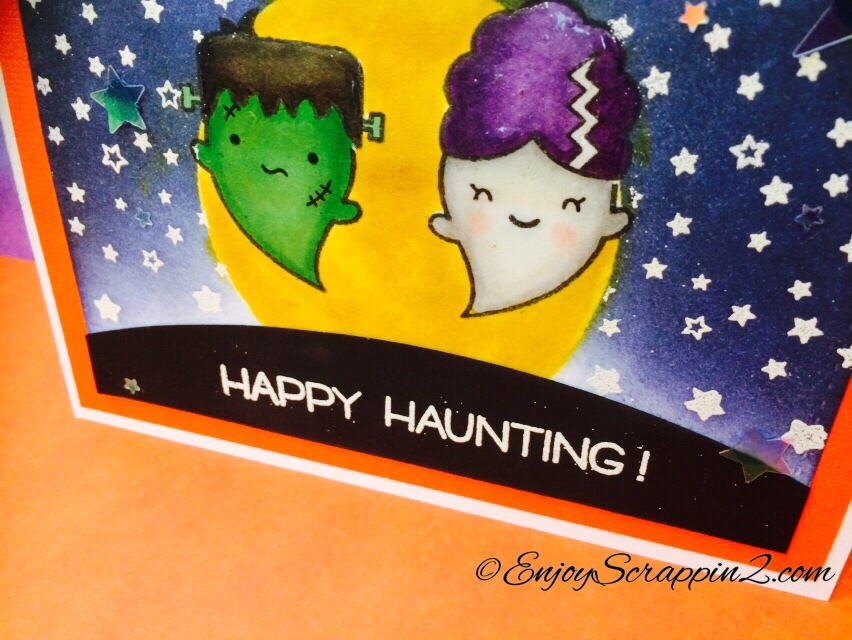
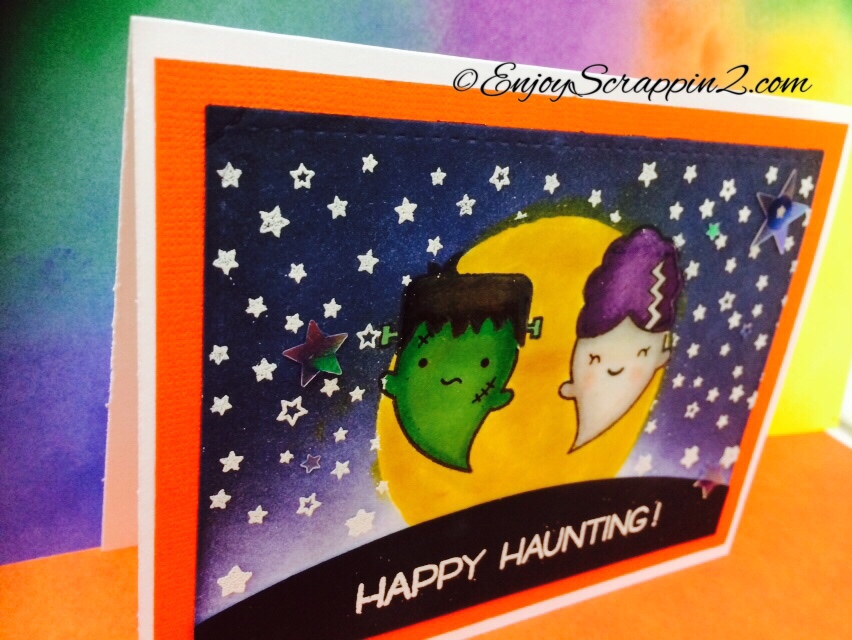
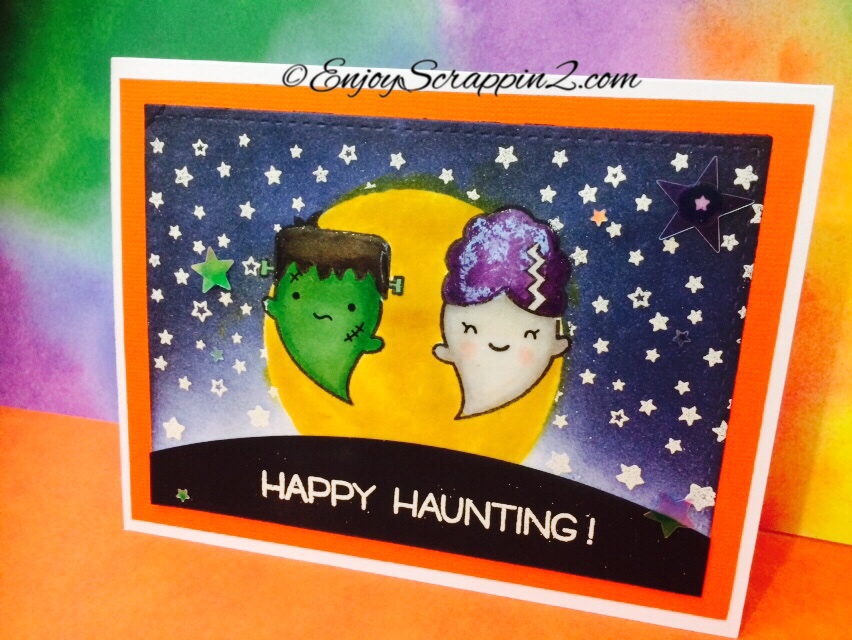
Today I’m making a card for Tupelo Designs LLC and I’ll be doing some Masking techniques using different products. The stamp set I’ll be using is this super adorable ghosts from Lawn Fawn, Booyah set and the starry backdrop set. First I stamped out the ghosts in MFT’s Black hybrid licorice ink and colored them using my Copic markers. I then applied the Triple Thick brush on gloss on the ghosts using a paint brush. I loved the fact that it covered the area super quickly. I let it dry completely, so that it’ll resist any inking or embossing I’ll be doing on top. I needed my masking paper to mask the ghosts so I can create a moon behind the ghosts. I could not find my Inkadinkado masking paper that I normally use for all my masking anywhere. I remembered that I saw someone using contact paper, Shelf liner as a masking paper so I decided to try it out with some left over shelf liner I had. To my surprise, it worked beautifully. I was super happy that it worked. I cut out a circle and placed it over the ghost and stamped out the starry backdrop using versamark, embossed it using White embossing powder. I wanted to create a night sky, so I covered the whole area using Chipped sapphire and black soot. After making my night sky, I peeled off the shelf liner to reveal the circle, which will be my moon. I used Fossilized amber distress ink to color in my moon. The Ghosts will resist the ink because it has been covered with the Triple thick, which is very similar to glossy accents. I stamped out the sentiment on a black card stock with the same white embossing powder and attached it to the bottom of the night sky. I hope you like this card and found this video helpful for different masking techniques. I thank you guys so much for stopping by and please subscribe and follow for more inspirations and ideas. Thanks again. Please visit the store for all the supplies I used on this card.
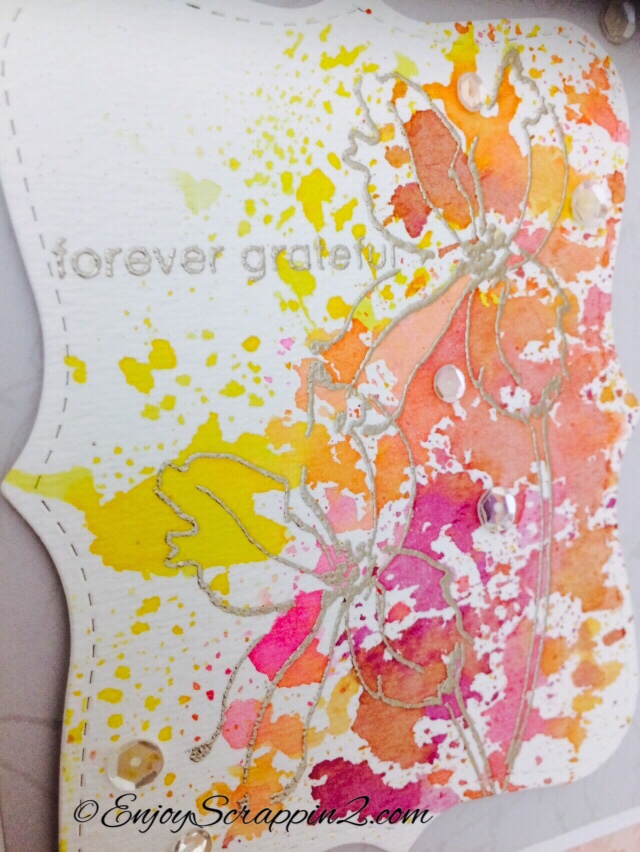
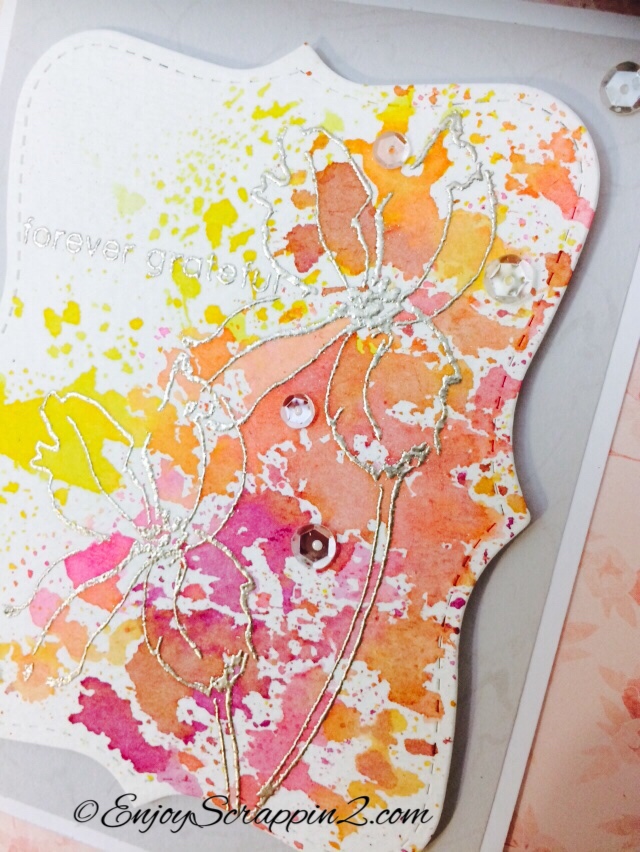
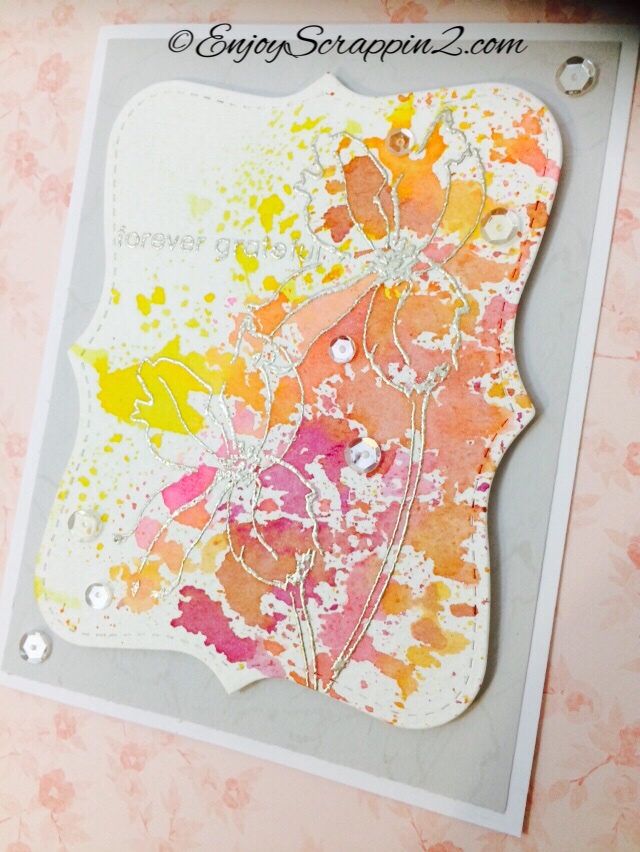
Today I’m making a DT card for Tupelo Designs LLC. I’ll be using the new Altenew stamp set called Wild Hibiscus and I’ll be doing some Ink Smooshing using distress inks. I’ve been seeing many people do this smooching technique and I wanted to try it out myself. I also used the Ranger Liquid platinum embossing powder, I think it gives a real elegant look. I chose out 3 distress inks, Mustard seed, Picked Raspberry and Seedless Preserves and used a acetate to do the smooching. I really like this technique and I’m sure I’ll be doing this more often. I hope you guys enjoyed this and please watch the video for a full step by step. I thank you guys so much for stopping by and please subscribe and follow for more inspirations and ideas. Thanks so much 🙂
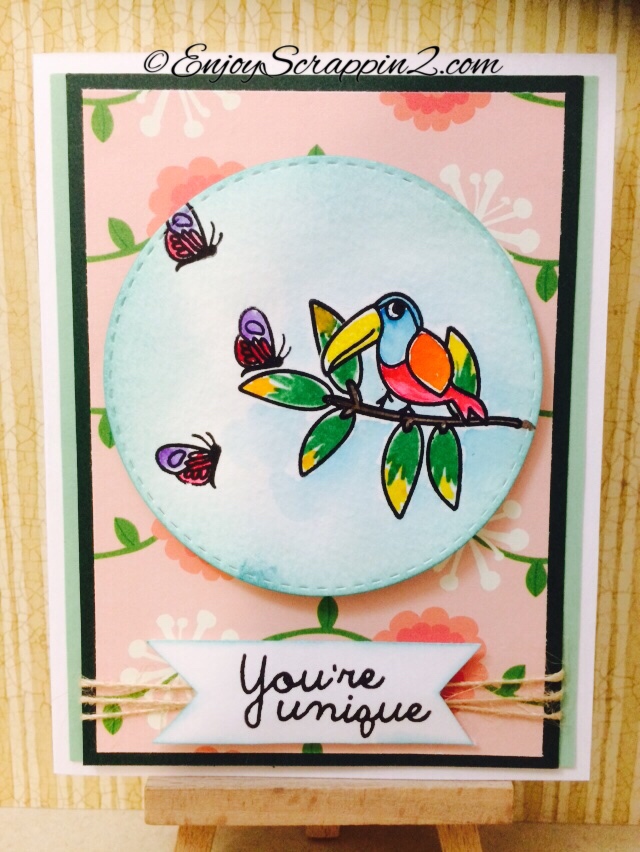
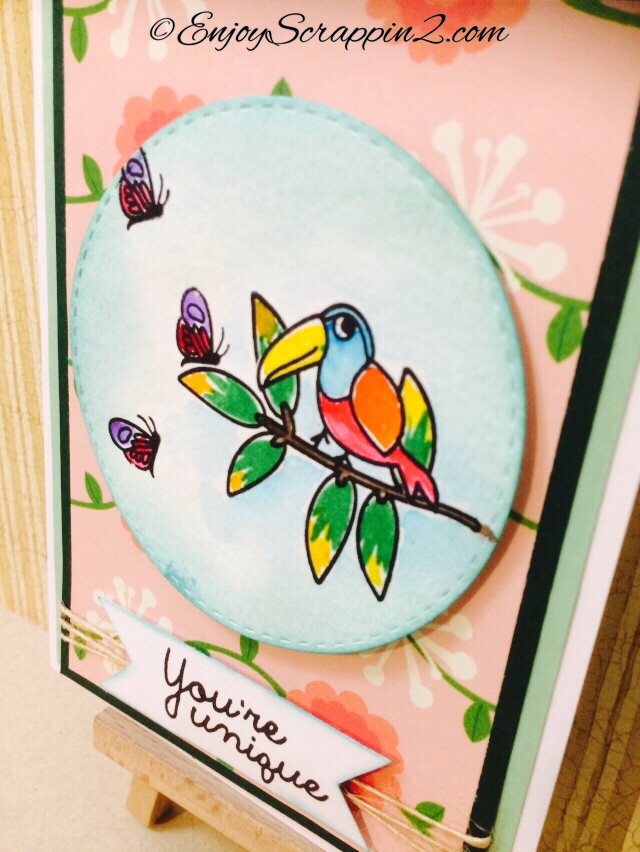
Today I’m making a DT card for Tupelo Designs LLC using the New Waffle Flower stamp set called Hibiscus. It seems like the Hawaiian and Polynesian theme is becoming popular with all the hibiscus and pineapples everywhere. Today’s stamp set has some Hibiscus and this bird that I’ll be partially watercoloring and stamping. I love the fact that we have the option to choose whether you want to color or just stamp. I do both today and I’m using the Peerless watercolor’s, which is one of my favorites because of it’s vibrant colors. I wanted this bird to be very bright and colorful. I love this stamp set and I’ll definitely use it again with the Hibiscus next time. I hope you like this and for the step by step, please watch the video up above. Please give a thumbs up if you like this card and hit the subscribe button for more inspirations and ideas. Thanks for stopping by and I’ll catch you guys next time 🙂
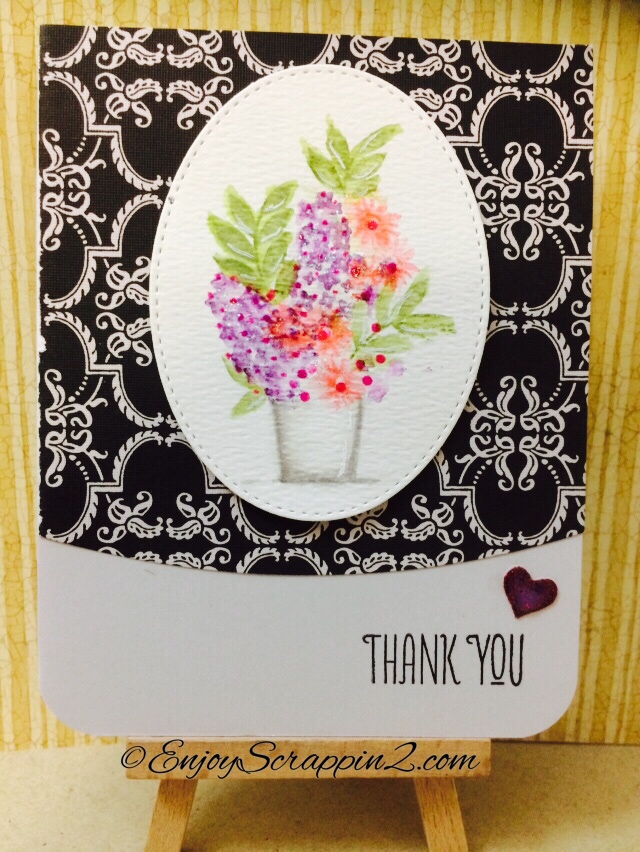
Today I’m making a DT card for Tupelo Designs LLC. I’ll be doing some stamping using the Distress markers to get a Watercolor effect using Wplus9 Fresh Cut Floral stamp set. I’ve been wanting to try this technique out ever since I saw Dawn from Wplus9 do this, using this same stamp set. This was my first time trying this out and I really like the way it turned out. I hope you like this and I’ll definitely be trying this technique out again. It was pretty simple, so go ahead and grab this stamp if you have, and try it out with me. All the supplies will be listed below fi you want to check it out. I thank you guys so much for stopping by and please subscribe and follow for more inspirations and ideas. Thanks again!