Teachers Goodie Bags with Shaker Tags

IMG_7400-0.JPG

IMG_7401.JPG

IMG_7402.JPG

Aloha Guys!

Today I’m sharing what I made for my kids teachers. This week is their last day of school so I had to make this today. I made the bags using the Gift bag punch board and made an ornanent shaker card. I did make a video on the shaker tag and I’ll be posting it couple of days.  I’ve been sick for the past 2 days and I didn’t have anything done for the teachers.  Good thing I have lots of cards pre-made so I just decorated the bag and attach the tags.  I think it came out cute, but it’s definitely not my best work.  I hope they like this gift.  I hope you guys like this idea and please subscribe for more inspirations and ideas.  Thanks again!

http://www.enjoyscrappin2.com
Youtube: http://youtube.com/channel/UCSmaap84Uvp7NPOcnJXGV9A
Instagram, Twitter, Flickr, Bloglovin
@enjoyscrappin2
#enjoyscrappin2

Having fun with watercolor paints

IMG_7397.JPG

Aloha Guy!

Happy Monday!! I don’t know about you guys but a lot of the times, Monday’s add my Lazy days. I don’t know why but on Mondays, I don’t really feel like doing anything. I just like to watch YouTube and just color things without thinking of anything. So these are the days I just sit and color. Today I’m playing with watercolor paints and I’m just coloring a whole bunch of things and just playing. I have like a full box of colored images which never really make it on a card. This is a Hero Arts stamp that I love to color. I’ve colored so many of these with all sorts of mediums. I think this is a really good size to color. I have tons more gifts to still make and I’m just procrastinating. I may have the Holiday blues, lol or just overwhelmed!! Anyways, I hope you guys like this and do some coloring just for fun. Thank you so much and I really do appreciate all of your support. Thanks and Much Mahalo!!

http://www.enjoyscrappin2.com
Youtube: http://youtube.com/channel/UCSmaap84Uvp7NPOcnJXGV9A
Instagram, Twitter, Flickr, Bloglovin
@enjoyscrappin2
#enjoyscrappin2

IMG_7398.JPG

This is a Chinese Lantern? I think, that I followed Linsay from the frugalcrater’s painting. She makes it so each to just follow along. Check out her videos on her YouTube channel, thefrugalcrafter!
Thanks Linsay!!:)

Hugs,
Joyce

Inky Paws Challenge #16 Christmas Theme

NNDIPC_16_ChristmasIMG_7377.JPG

IMG_7378.JPG

Aloha guys!
Today I’m sharing a card j made for the Newton’s Nook Inky Paws Challenge #16 Christmas Themed Card.  I used the Christmas Delivery stamp set for this card.  I stamped out the image and cut it using the MFT’s Stitched circle die.  I cut 4 pieces of card stock measuring 3 3/4″x5″ and cut the circle in the middle to make my shaker ornament and attached them all together to create a dimensional circle.   I then cut another one measuring the same with Design Paper.  This is form the American Crafts Christmas collection paper pad and cut a circle matching the others.  I colored the image using my Copic Markers.  I attached the stamp piece lining it up on the inner circle and attached it to a red card stock measuring 4″x5 1/4″.   I attached the dimensional piece and poured in some seed beads and put the design paper on top  to create my shaker.  I used a gold ribbon I cut using my Cricut and attached it to the top of he circle to make it look like an ornament.  I hope you like this card, and for full tutorial on how i made this card, please visit my youtube channel.  Also, please subscribe for more inspirations and ideas.  Thanks and Much Mahalo:)

http://www.enjoyscrappin2.com
Youtube: http://youtube.com/channel/UCSmaap84Uvp7NPOcnJXGV9A
Instagram, Twitter, Flickr, Bloglovin
@enjoyscrappin2
#enjoyscrappin2

Magic Gift Card Holder-Stampin Up

IMG_7371.JPG

IMG_7373.JPG

IMG_7372.JPG

IMG_7370.JPG

Aloha Guy!
Today I’m sharing how I made this Magic Gift Card Holder which was inspired by http://www.frenchiestamp.com. I saw her make this holder and I thought it was super cute so I emailed her and asked her if i can make a video of it. My design is slightly different than hers and I made 2 versions of it, just incase you dong have the perforated line die or a trimmer. I started this holder with a 4 1/4″X11″ card stock and scored at 1/2″ and 6″ for both designs. The perforated edge is at 9 3/4″ and 10 1/8″ and I used the Paper Smooches Stitched die which doesn’t cut but makes the stitched lines instead. I use lots and lots of Gift card holders for Christmas and I thought this was super fun way to give the Gift cards. It’s kind of hard to explain how I made this holder so if you like to check out my YouTube channel for a full tutorial or check out http://www.frenchiestamp.com and see how she made hers. Thank you so much for visiting and please subscribe for more inspirations and ideas. Thanks and Much Mahalo

http://www.enjoyscrappin2.com
Youtube: http://youtube.com/channel/UCSmaap84Uvp7NPOcnJXGV9A
Instagram, Twitter, Flickr, Bloglovin
@enjoyscrappin2
#enjoyscrappin2

Holiday Anya 2 One Layer Card

IMG_7341.JPG

IMG_7342.JPG

Aloha Guy!

Today I’m sharing this One Layered card made using The Greeting Farms Holiday Anya. I used the 120 lb Simon Says Stamp paper so my copic markers don’t bleed through. I am in Love with this paper. The possibilities are endless. I stamped the Holiday Anya using Momento Tuxedo black ink and colored her using my copic markers. I also stamped her out on masking paper so I can stamp snow flakes all around her. I used the Ranger’s Sparkle gold embossing powder on the snow flakes. The sentiment I used here are from Bo Bunny Sentiment Sampler. I hope you like this card and I have a full tutorial on my YouTube channel if you’d like to check it out. Please subscribe for more inspirations and ideas. Much Mahalo!

Copic Colors I used:
Skin: E000, E00, E21, E11
Hair: E59, E57, E55
Dress: BG000, BG15, BG13
Bow: R89. R27, R24

http://www.enjoyscrappin2.com
Youtube: http://youtube.com/channel/UCSmaap84Uvp7NPOcnJXGV9A
Instagram, Twitter, Flickr, Bloglovin
@enjoyscrappin2
#enjoyscrappin2

Gerda Steiner Designs Penguin on a Present

IMG_7357.JPG

IMG_7355.JPG

IMG_7356.JPG

Aloha Guy!

Today I’m sharing this card I made using this super adorable penguin from Gerda Steiner Designs stamp.  This penguin is available in both Rubber and Digital Format.  He is the most cutest penguin ever!! I used the digital format and the presents that he’s standing on top of is available in digital form along with the present on his hand.  You can purchase these items from the links below if you’re interested.  I first placed the penguin on top of these present’s and also placed the present in his hand and printed him out.  I cut the entire image using the Lawn Fawn’s Large Stitched Rectangle die and cut another rectangle using the bigger die for the stitched edges.  The Christmas tree I used on this card is from Stampin Up and it’s from the last years collection.  I colored the penguin and the gifts using my Copic Markers and I Stamped the tree overlapping both rectangles.  I used some stickles to decorate the trees and to give it a sparkly look and also added the stickles to his Santa Hat.  This is a pretty simple card and I hope you guys like this card.  I have a full tutorial for this card on my Youtube Channel if you like to check that out.  Thank you so much for visiting and please subscribe for more inspirations and ideas.  Thank you and Much Mahalo

http://www.enjoyscrappin2.com
Youtube: http://youtube.com/channel/UCSmaap84Uvp7NPOcnJXGV9A
Instagram, Twitter, Flickr, Bloglovin
@enjoyscrappin2
#enjoyscrappin2

Hero Arts Snow Globe Shaker Card

IMG_7352.JPG

IMG_7353.JPG

IMG_7354.JPG

Aloha Guys!

Today I’m sharing another Christmas Shaker Card using the Hero Arts Christmas Raindeers stamp set. I love this raindeer so much, he’s so cute. I use him over and over every year. I can’t find this stamp set in stores so I’m not sure if it’s discontinued or not but I stamped and colored him using my Copic markers, I used the MFT’s stitched circle die to cut a circle in the center for my snow globe and also cut an acetate the same size as the card front to cover the circle for my shaker portion. I also cut 2 snow banks using the Lawn Fawns stitched hillside borders and covered a little bit of the bottom portion of the circle. For the center of the snow globe, I stamped the tree landscape using the Stampin Ups white Christmas stamp set to create the snow scene for my snow globe. I used foam adhesive all along the outer edges of the circle and fill it with some white iridescent and clear sequins and some silver chunky glitter. I put foam adhesive on the raindeer and the snow bank and attached it on top of the snow globe. I tied a bow using some white and red polka dot ribbon and placed it at the bottom of the snow bank. I stamped the Merry Christmas banner on the inside of the snow globe so it’ll be peeking through the snow globe. I hope you like this video and for full tutorial for this card, please check out my YouTube channel. Thank you so much and please subscribe for more inspirations and ideas. Thanks again, much Mahalo

http://www.enjoyscrappin2.com
Youtube: http://youtube.com/channel/UCSmaap84Uvp7NPOcnJXGV9A
Instagram, Twitter, Flickr, Bloglovin
@enjoyscrappin2
#enjoyscrappin2

Gerda Steiner Designs-December Challenge Pop Up Card

IMG_7343.JPG

IMG_7345.JPG

IMG_7346.JPG

Aloha Guys!

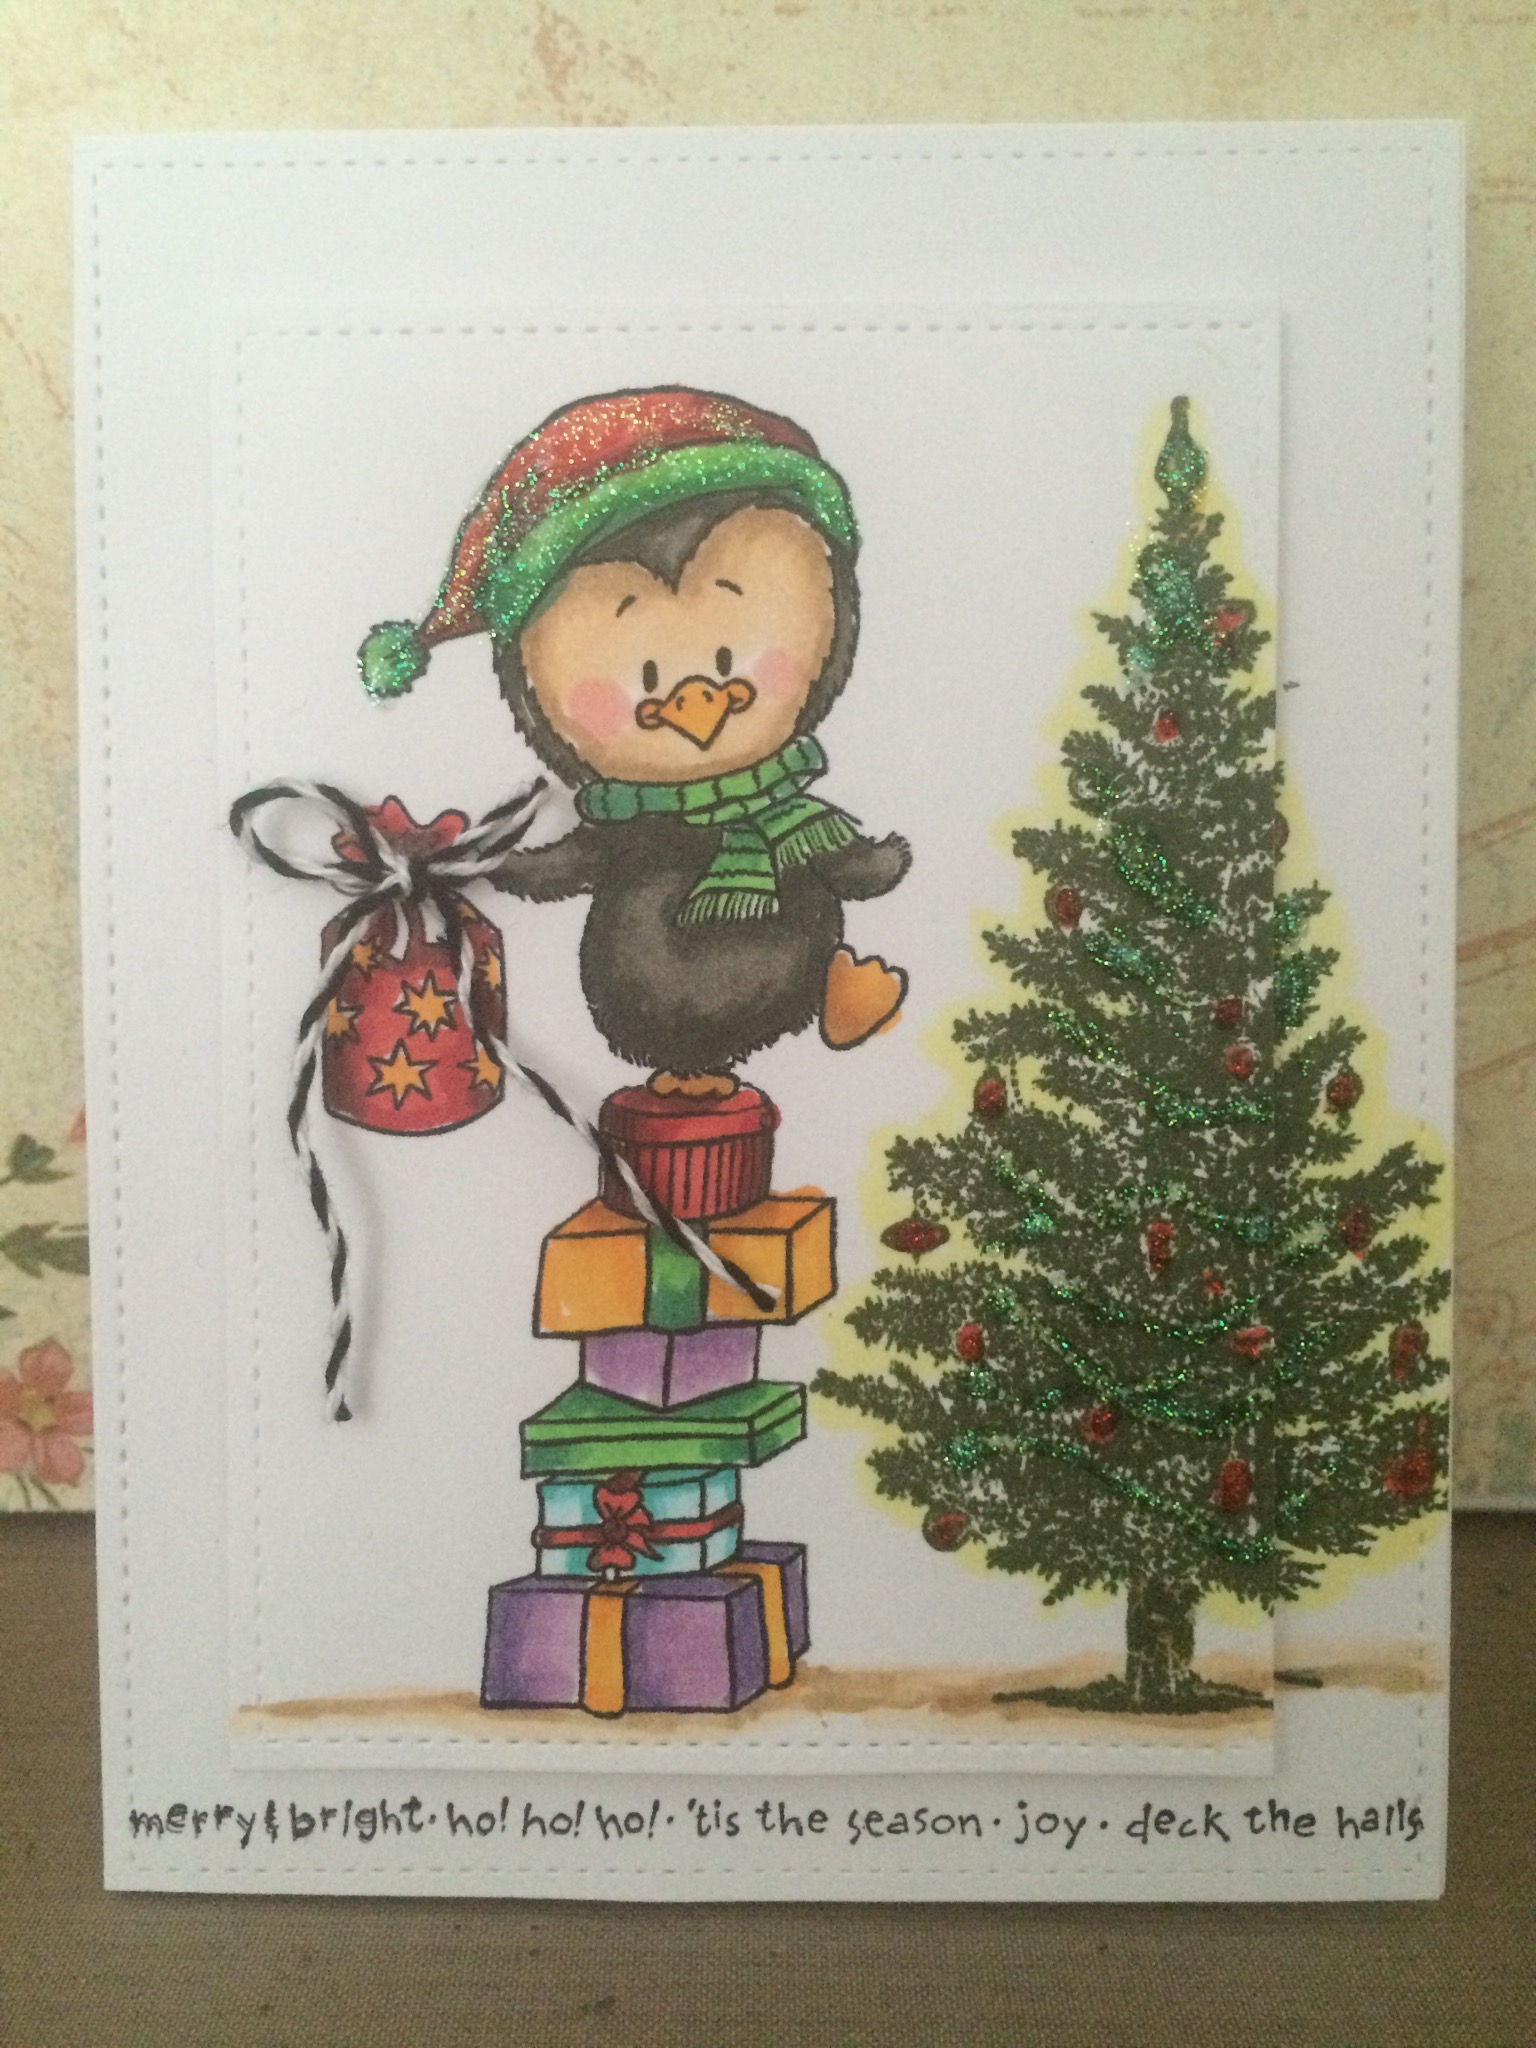
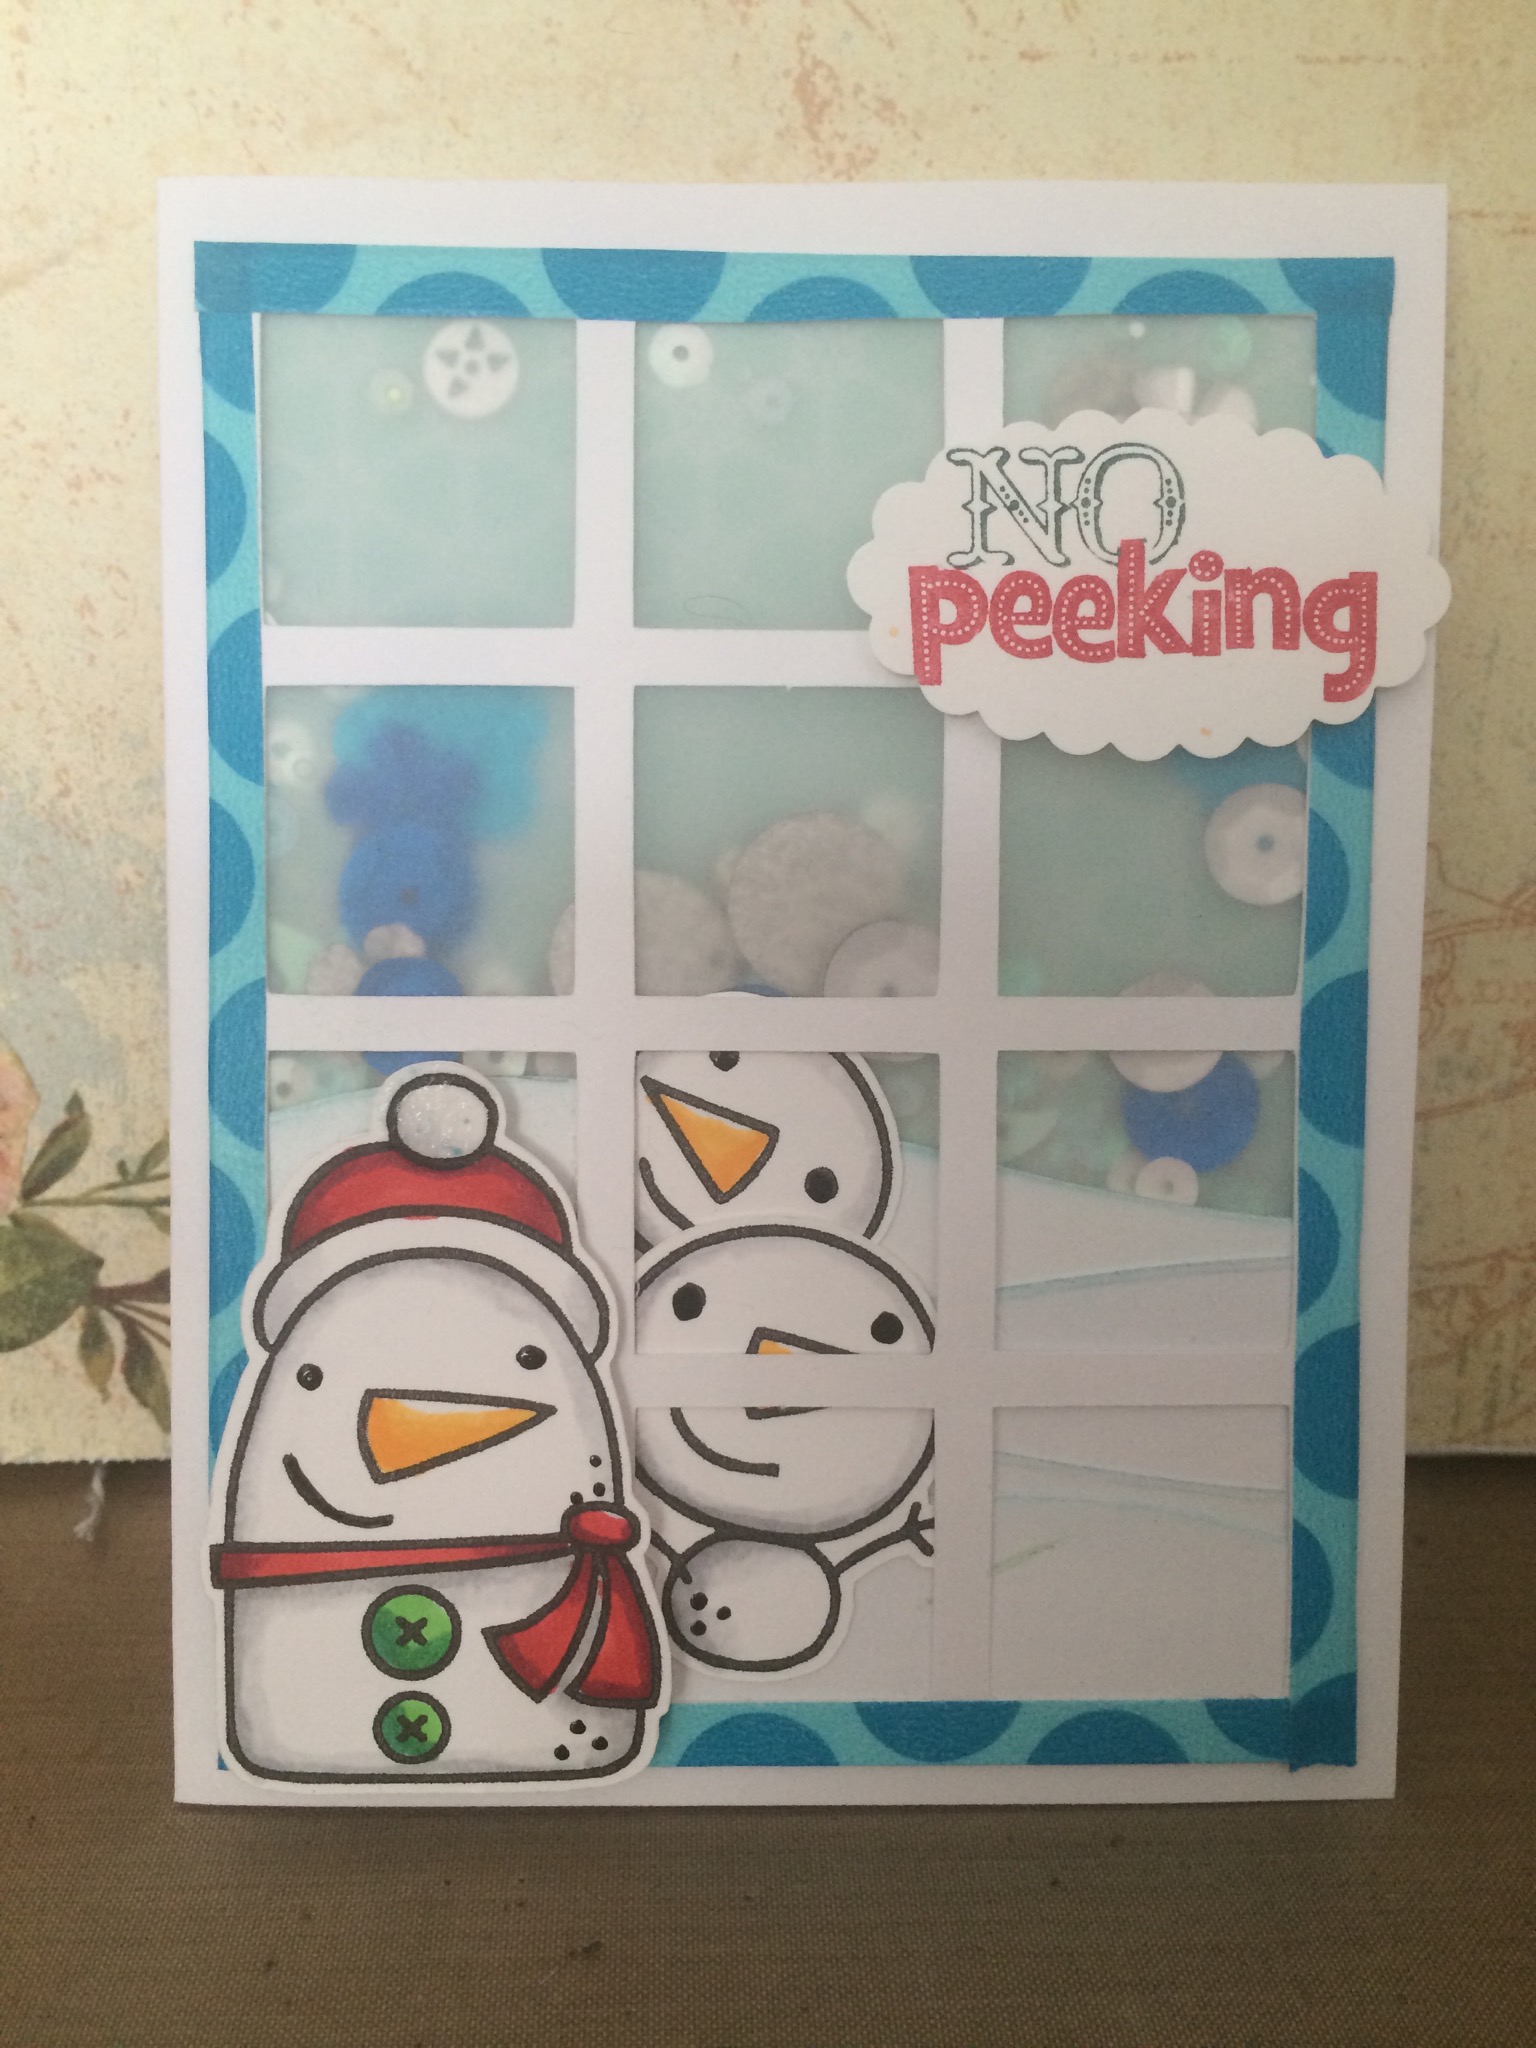
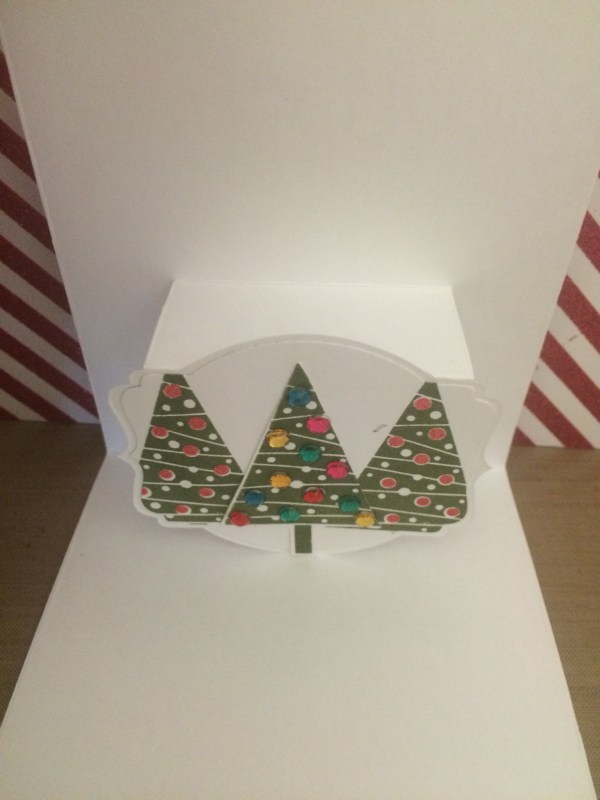
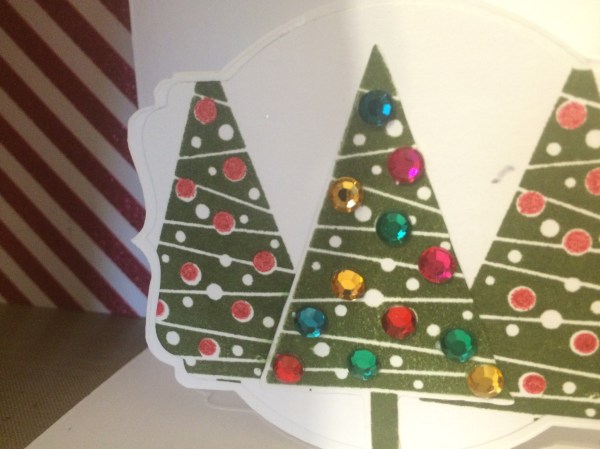
Today I made a card for the Gerda Steiner Designs December Challenge, which is to either use this Angel with lights or the Angel with the Merry Christmas Banner.  This is part of Gerda Steiner Designs Progressive Challenges  where is you purchase either her Rubber stamps or her Digital image and participate in her monthly challenge she’ll send you a FREE stamp for the next months challenge.  So it can go on and on, as long as you participate.  FREE Digital image!! Awesome!!  I have all the links below if you want to check that out.  Anyways, today I decided to make a Pop up card since I haven’t made on in awhile.  I’m using a Stampin Up pop up card die that is discontinued I don’t know why, this die was amazing.  It does the whole work for you and it’s so easy to make a very easy pop up card.  I printed this Angel with the Lights, I printed both but I’ll be using only one today.  I colored her with my Copic Markers and die cut a Stitched Rectangle out of Lawn Fawn’s Large Stitched Rectangle die and I also cut a DSP and a Vellum with the same rectangle die.  I wanted to mute the background paper a bit with vellum because I wanted the her to really Pop.  I stamped out a sentiment in 2 colors using Stampin Up Joy to the world stamp and I popped up this panel using foam adhesive.  For my Pop up in the inside, I cut out the same shape that matched up with the pop up prtion and used Festival of Trees stamp set from Stampin Up with Mossy meadow.  I used Real Red for the little dots that go inside the trees.  I stamped out the 3rd tree using the same ink and cut it out and put red, yellow and green rhinestones as the lights for the tree and put it between the 2 trees.  This finishes off my card for today and I have a Full tutorial on how I made this on my Youtube Channel if you like to check that out.  Thank you so much for visiting and don’t forget to subscribe for more inspirations and ideas.  Also, check out the links below for supply list.  Thank you and Much Mahalo

http://gerdasteinerdesigns.com/new-page-2/

http://www.enjoyscrappin2.com

Youtube: http://youtube.com/channel/UCSmaap84Uvp7NPOcnJXGV9A

Instagram, Twitter, Flickr, Bloglovin
@enjoyscrappin2
#enjoyscrappin2


Paper Smooches January Designer Search and Sparks Challenge

SPARKS BADGEIMG_7348.JPG

IMG_7349.JPG

Aloha Guys!
Today I made a card for Paper Smooches January Designer Search and the Sparks Challenge. I used Freezy Fellas stamp set and I also cut using MFT Die namics square grid cover up for my window panel for my card. I also cut snow banks out of Lawn Fawns Stitched hillside border die in various sizes.  I cut a Designer Series paper from Stampin Up and a Vellum the same side as the square grid panel.  I colored 3 snow mans using Copic Markers.  I used the Tim Holtz tumble glass distress ink pad to give the snow banks some color.  I first attached the snow banks to the Window panel to make things a little easier for me.  I put the larger snow man out of the 3 in front of the window and put the other 2 behind the window to make it look like they are peeking in.  After that I attached the Vellem to the back of this window with the snow banks.  I then used a pencil to trace where the largest snow banks are going to be and put Foam adhesive all around the window and put foam adhesive along the top of the largest snowbank.  This panel with be the front portion of my Semi-Shaker card.  I say Semi because I used the washi tape to seal up all 4 sides of the window.  I wanted to use vellum instead of the acetate because I wanted more of a muted background.  I put some different sizes of sequins on the design paper and placed the window panel down and taped all 4 sides with the wash tape.  I put the large snowman in front of the card using some foam adhesive and I stamped out the sentiment No Peeking with Stampin Up stamp with 2 different colors and punch it out using the Sampin Up’s Large scalloped die.  I put foam adhesive on the sentiment and placed it on the top right hand corner.  I have a Full tutorial on how I made this card on my Youtube Channel which I’ll be posting shortly if you’d  like to check that out.  I want to thank you guys for visiting and please subscribe for more inspirations and ideas. Much Mahalos

http://www.enjoyscrappin2.com

Youtube: http://youtube.com/channel/UCSmaap84Uvp7NPOcnJXGV9A
Instagram, Twitter, Flickr, Bloglovin
@enjoyscrappin2
#enjoyscrappin2

Whimsy Stamp-Angelica Copic Coloring

Aloha Guys!

Today I’m doing some coloring.  I haven’t been feeling too good for couple of day so instead of going in my craft room, I decided to just color in my room.  The image I’m coloring this Image I purchased through Whimsy Stamps.  I got the Digital version but they may have a stamp version too.  Her name is Angelica and I decide to color with my Shinhan touch Brush Markers.  Those of you that are not Familiar with this marker, you can check them out at Blick’s Studio.  I hope you like this coloring video, Thank you so much for visiting.  Please press the like button if you like this video and Subscribe for more inspirations and ideas.  Much Mahalo