Gerda Steiner Designs New stamp Happy Spring

2015/02/img_7674.jpg

2015/02/img_7673.jpg

2015/02/img_7672.jpg

Aloha Guys!

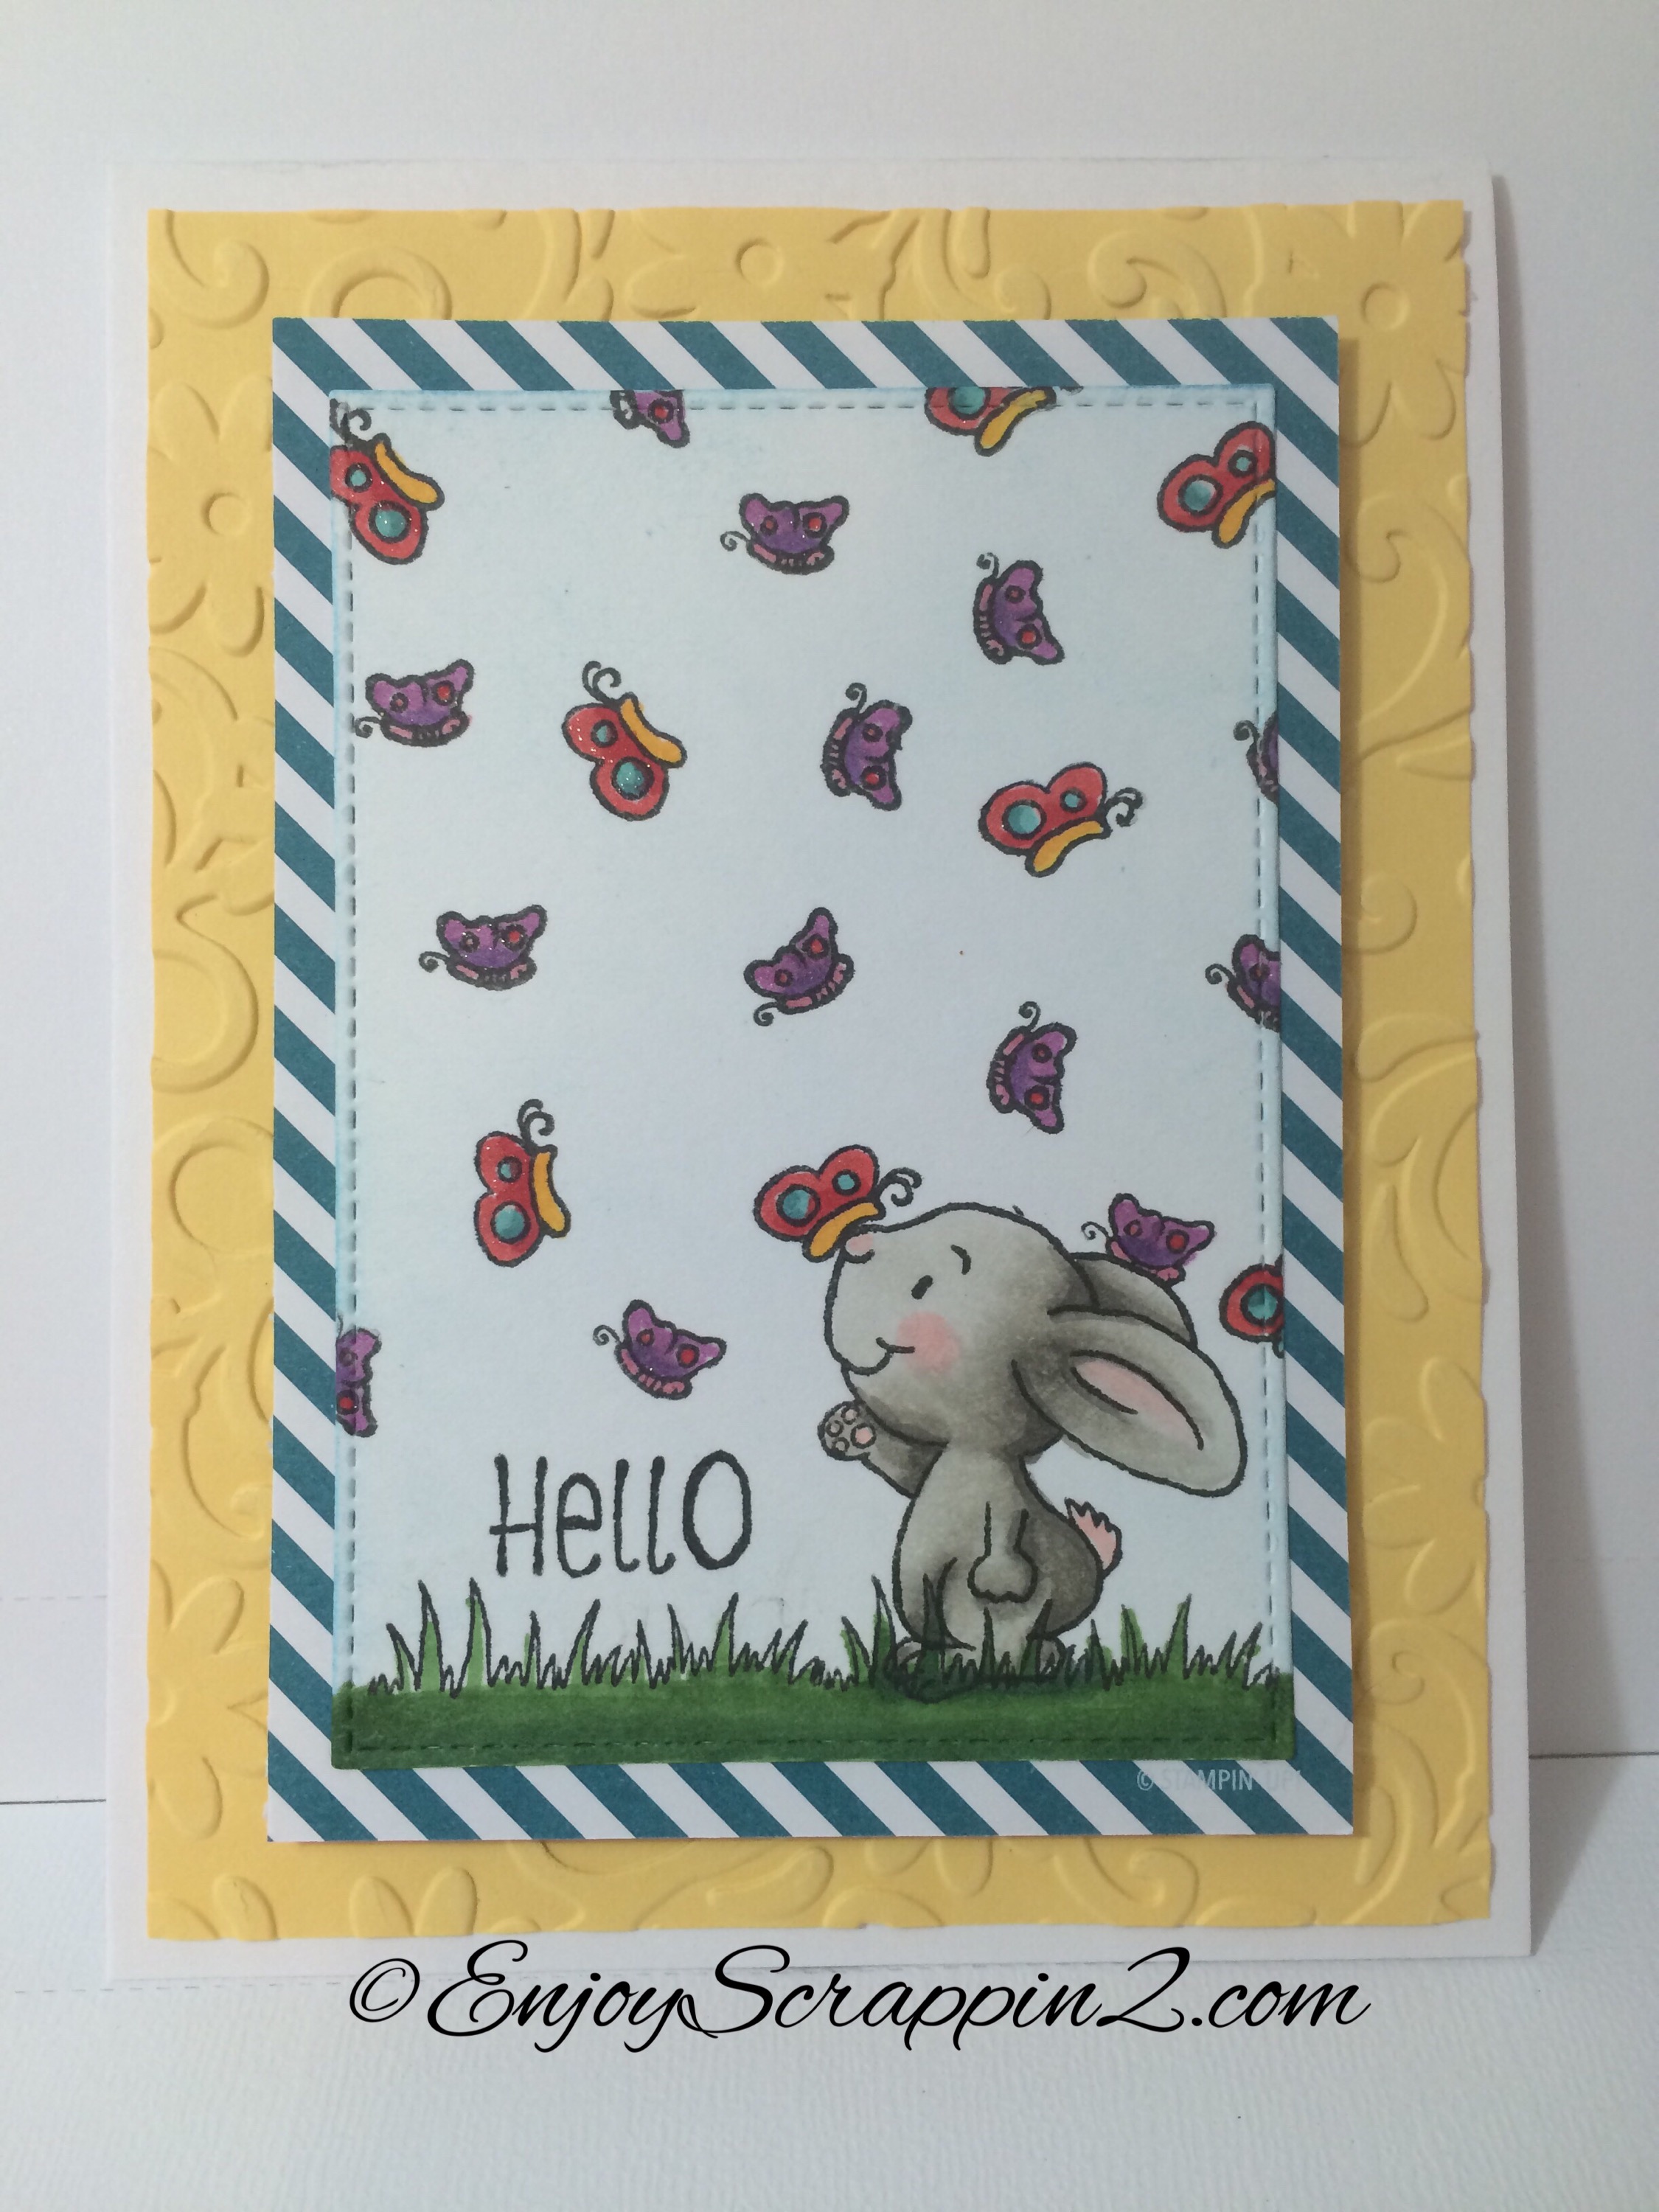
Today I want to introduce to you a Brand New Stamp Set called Happy Spring which will be released on March 1! This is a really Great Quality Photopolymer stamp that has some spring elements which also can be used all year long. This is a builder stamp to create all shorts of scenery. There are many stamps that comes in this set, that I’m sure you’ll have tons of use for.
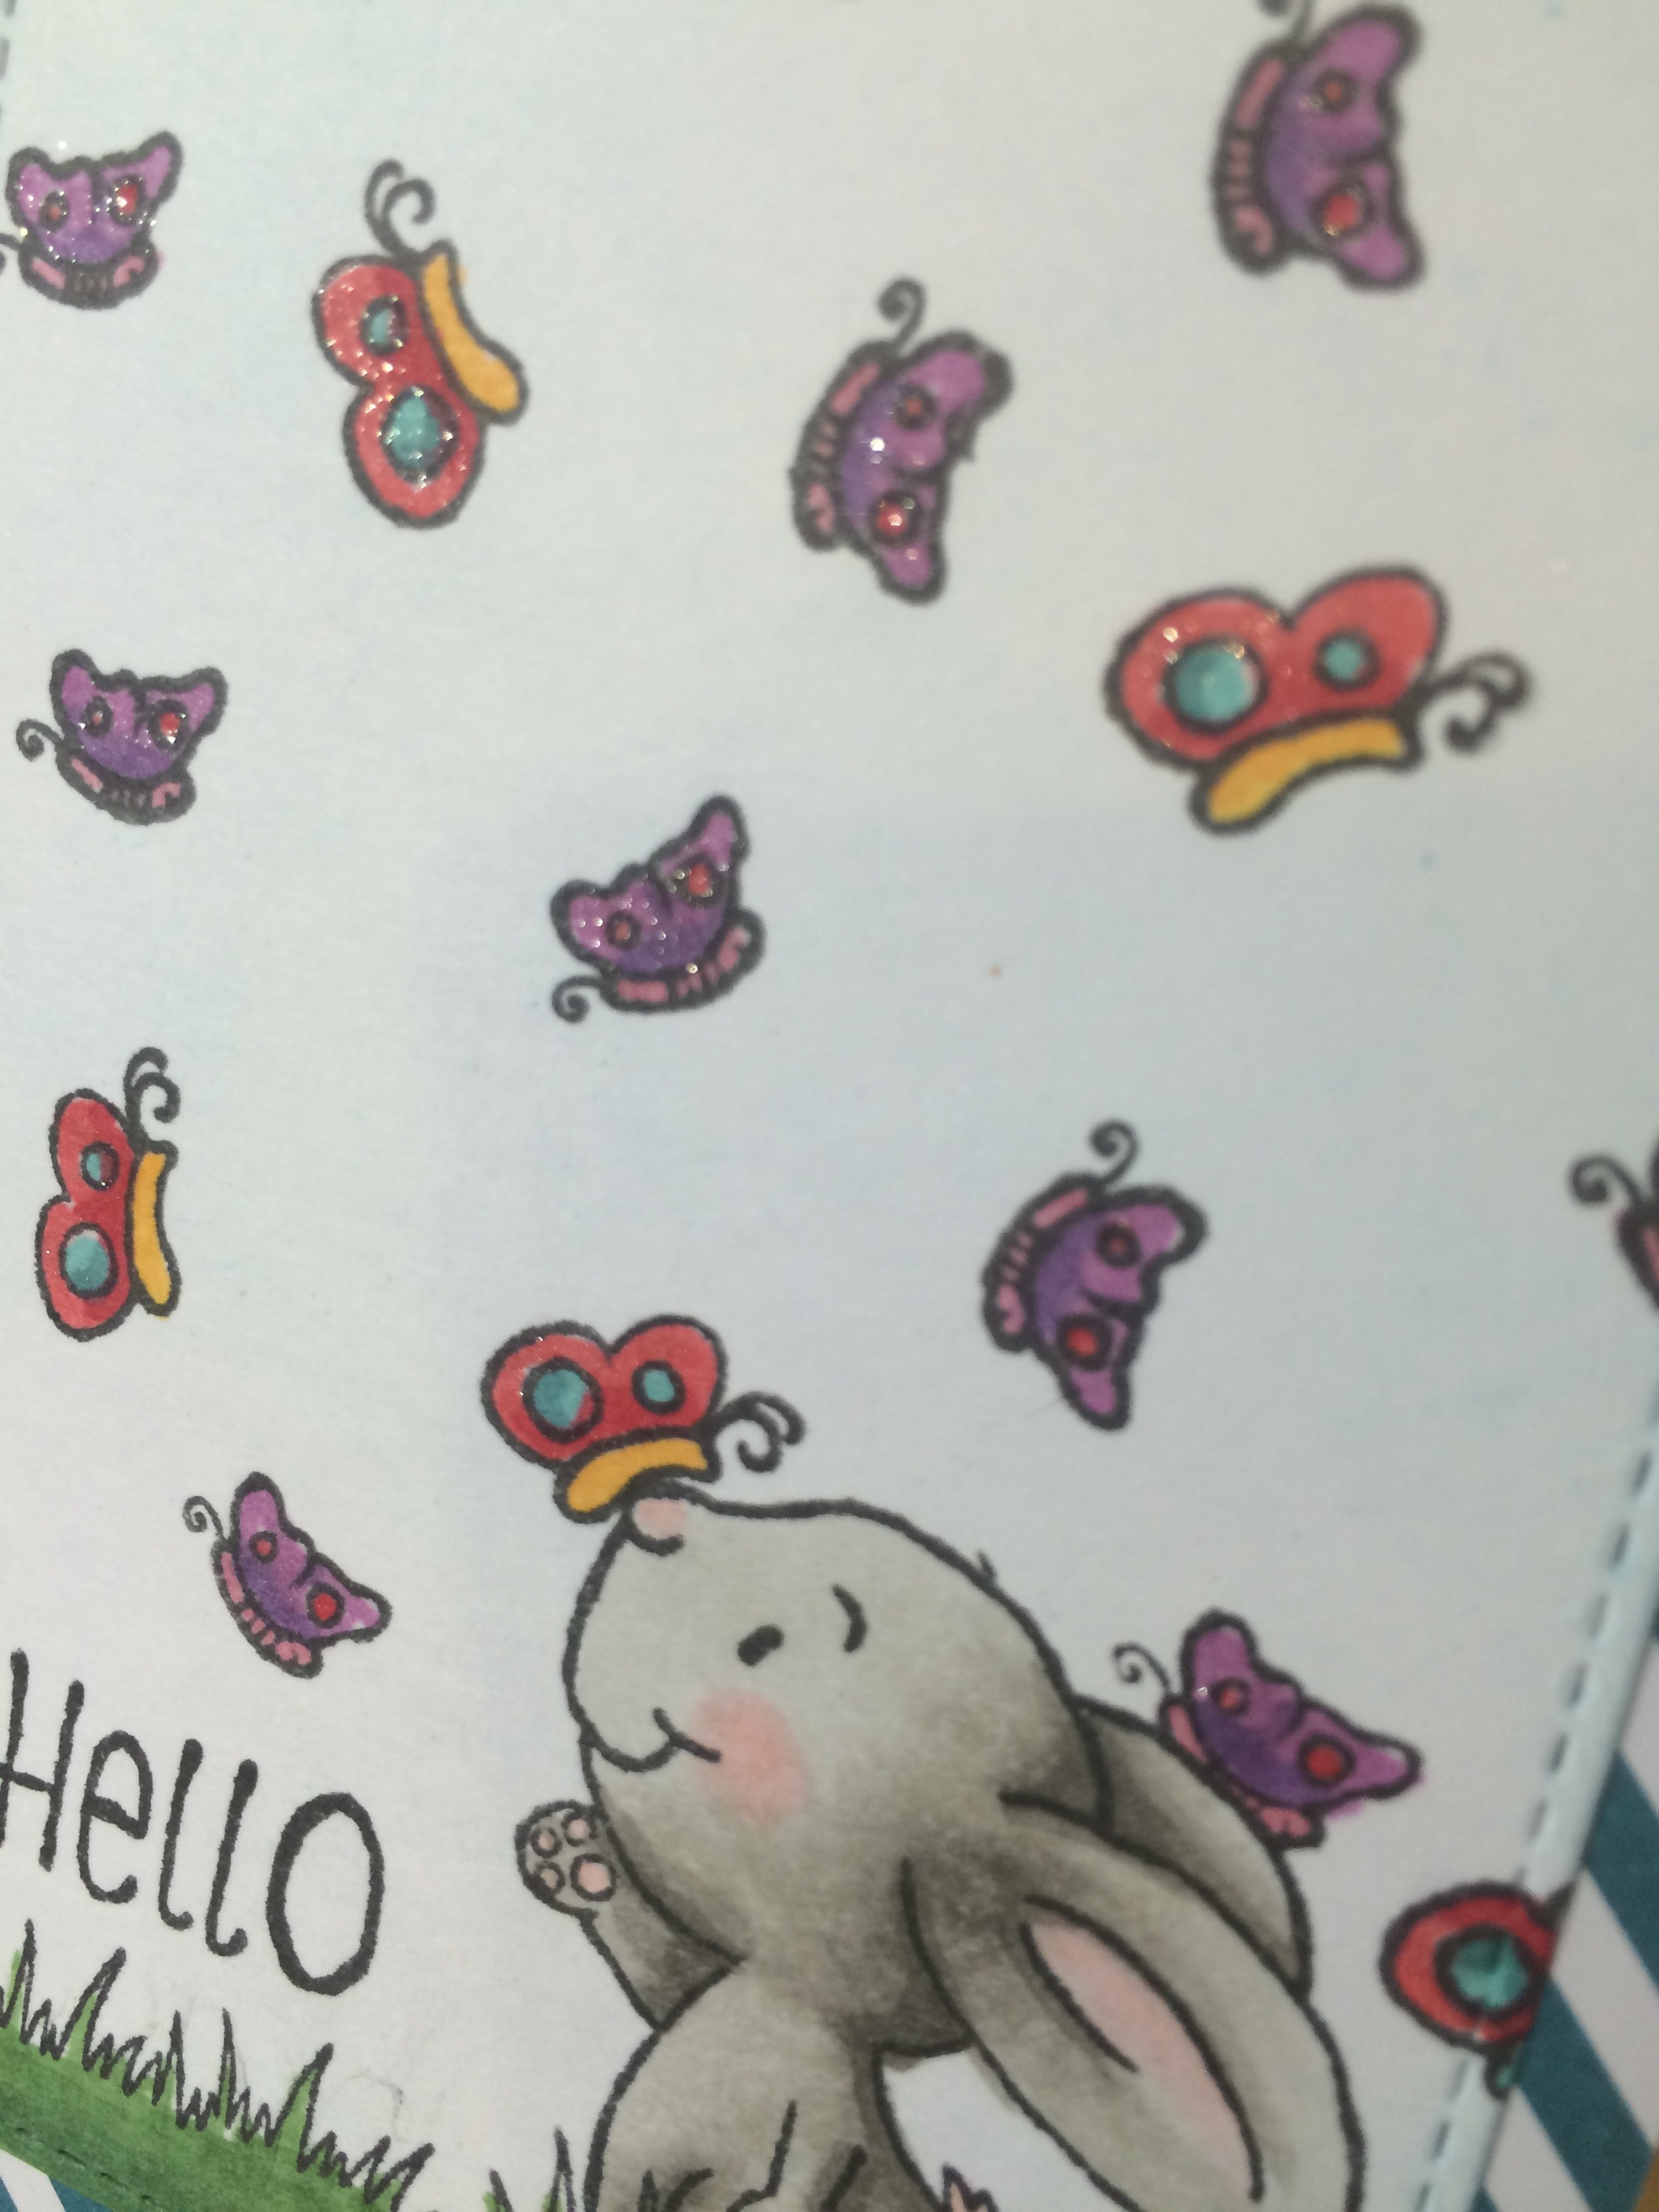
Today I created this simple card using the Bunny and the butterflies in the set. I stamped the bunny on top of some grass which is also available in this set and stamped 2 different type of butterflies all around the bunny. And since the bunny’s face is facing up in the air, I had to put s butterfly on his nose. Super cute!! I colored them using my Copic markers and attached all the pieces to my card base. I put clear wink is Stella on all the butterfly to give a sparkle that it needed. I do have a Full Tutorial on my YouTube on how I made this card as well as go over all the stamp set that’s included in this set so please check it out. Thank you so much for visiting and please subscribe for more inspirations and ideas. The supply list will be available on March 1 when the stamp set is released. Thank you so much and Mahalo

http://www.enjoyscrappin2.com
Instagram, Tumbler, Twitter, Flickr, Bloglovin
@enjoyscrappin2
#enjoyscrappin2
FB: Joyce Nakaoka

http://gerdasteinerdesigns.com

Balloon Shaker Card using Gerda Steiner Designs 3 Monsters

2015/02/img_7568.jpg

2015/02/img_7569.jpg

Aloha Guy!

Today I want to share this Balloon shaped card that’s also a Shaker card. I haven’t made a shaped card in a while so this was kind of fun. On top of that, I absolutely Love these Monster!!! This is a Digital image and the set has All 3 Monsters, I’ll leave a link below if you want to check it our.  First I made my Balloon Card base using Simon Says Stamp’s Balloon Die.  This die set has multiple sets of Balloons in it so the set is very versatile.  I then cut another balloon using the same size as my base for my card front, using watercolor paper.  I used that piece and cut out 3 circles using the SSS In Stitches circle die.  This has stitching on both the negative and the positive side so my circles that I cut has stitching on it, which is pretty cool.  I also used the same dies to cut myself an Acetate and some foam which I’ll use for the shaker portion.

I printed All 3 Monsters onto a Neenah Solar White paper and I couldn’t decide which one to use so I decided to used all 3.  I colored the monsters using my Copic markers.  I used the Inktense Pencils on the watercolor paper to add some color to the Balloon panel.  I used 3 different colors for the 3 circles and then used a brush and water to liquify the colors.  I tried to match the hole to the color of the monsters.  I then used the Peacock Feathers on the rest of the balloon. I attached the acetate to the front balloon and attached the foam.  In the circles I added some small seed beads, I didn’t add to much because I didn’t want to cover up the monsters.  I added some bakers twine bow at the knot of the balloon, and put a Happy Birthday sentiment.  I do have a Full Tutorial on how I made this card on my Youtube Channel, if you’d like to check that out.  Thank you so much for watching and Please subscribe for more inspirations and ideas.  Thanks again, Mahalo

http://www.enjoyscrappin2.com
https://www.youtube.com/channel/UCSmaap84Uvp7NPOcnJXGV9A
Instagram, Twitter, Tumbler, Flickr, Bloglovin
@enjoyscrappin2
#enjoyscrappin2
FB: http://www.facebook.com/profile.php?id=100006270948703

http://gerdasteinerdesigns.com

Gerda Steiner Designs-Late but with Love

2015/02/img_7617.jpg

Aloha Guys!

Today I’m sharing another card I made using Gerda Steiner Designs New Clear stamp set Late but with Love.  I really rally enjoy this stamp set because there’s so many different ways to use this stamp.  The versatilities are endless.  I Stamped out the images using Momento Tuxedo Black ink and colored all the images using my Copic Markers.  I cut out some brown card stock with the Lawn Fawn’s Tree border die and also cut my favorite green card stock with the Lawn Fawn’s stitched hillside border die.  I also embossed a white card stock using the Stampin Up’s clouds embossing folder (Retired) and distressed it with Peacock feather distress ink pad to bring out the embossed clouds.  I put all the components together and put glossy accents not the balloons for some finishing touch.  I do have a Full tutorial on how I made this card on my Youtube Channel if you’d like to check them out.  Thank you so much for visiting and please subscribe for more inspirations and ideas.  I’ll leave a link below for this stamp set and also the supplies I used of this card.  Thank you, Mahalo:)

http://youtu.be/LAxOmFaqBgY

https://www.youtube.com/channel/UCSmaap84Uvp7NPOcnJXGV9A
Instagram, Twitter, Tumbler, Flickr, Bloglovin
@enjoyscrappin2
#enjoyscrappin2
FB: http://www.facebook.com/profile.php?id=100006270948703

For More Adorable Digital, Rubber and Clear Stamps, please check out

http://gerdasteinerdesigns.com

For One Stop Shopping and Fast Shipping, please check out 

http://www.tupelodesignsllc.com

Gerda Steiner Designs-Kitten in Love

2015/02/img_7531.jpg

2015/02/img_7532.jpg

Aloha Guys!

Today I want to share with you a card I made using these adorable Kittens in Love.  This is a Gerda Steiner Designs Digital image and I absolutely love this.  I’ll leave a link below if you like to check it out.  As most of you guys know, I was lucky enough to be on Gerda Steiner Designs DT so I do get Physical and Digital stamps from Gerda to Create projects for her.  However, I LOVE her stamps!!  Not because I’m on the DT but because I Love her adorable, whimsical stamps.  I was using her stamps way before I was asked to be on the team.  So even though I create a lot of projects using her images, it’s because I want to NOT because I have to.

Ok, now lets get back to this card.  I printed the image out on Neenah Solar white, I use this card stock for all of my coloring images besides watercolor paper.  I cut out the Kittens using Stampin Up’s Heart Famelits.  I used a soft sky car stock and embossed it using the Stampin Up’s Retired Clouds embossing folder and distressed it using Tim Holtz peacock feathers distress ink.  I also cut a round hill, free hand and inked it up using Mowed lawn distressed ink.  I continued the hill on the heart piece where the kittens are sitting and distressed that as well with mowed lawn ink to give them a ground to sit on.  I mentioned that this was a Neenah but I used the Inktense pencils to color the kittens.  I only used a little bit of water, just to liquify the color so it was ok.  I gave them some patches as well to give them some character.  I lined up the Heart with the hill so it matched up perfectly and put the card together.  Just so that you know, all the cards that meet the requirement for OWH, I send the cards to them.  So I added Love you more sentiment since they always need love cards:)  I do have a Full Tutorial on my yotube channel if you’d like to check that out.  Thank you so much for visiting and Please Subscribe for more inspirations and ideas.  Much Mahalo:)

http://youtu.be/JxG7Kbw9w8Ywww.enjoyscrappin2.com

https://www.youtube.com/channel/UCSmaap84Uvp7NPOcnJXGV9A
Instagram, Twitter, Tumbler, Flickr, Bloglovin
@enjoyscrappin2
#enjoyscrappin2
FB: Joyce Nakaoka

Gerda Steiner Designs New Collection-Late but with Love

2015/02/img_7539.jpg

2015/02/img_7540.jpg

Aloha Guys!

Today I’m very exited to share with you this Clear Stamp Collection from Gerda Steiner Designs.  As you guys know, I am on the Design Team for Gerda Steiner Designs but I was using her stamps way before being on the DT because I love her stamp collections.  With that being said, she released her very First Clear stamp set.  She has both digital and rubber stamps available on her site which I’ll put a link below.  These Photopolymer stamps are very high quality because I used a lot of different ink to stamp these out to see how well it stamps.  It stamped really clear and crisp.  Without further due, I’ll talk about this card I made using this stamp set.  I stamped out the snail and the envelope in Momento tuxedo black ink so that I can use my Copic markers to color them.  I have a piece of white card stock which I embossed using Stampin Up’s retired cloud embossing folder.  I distressed the edges for the sky portion using both broken china and peacock feathers.  I also cut some vellum using Mama elephants’ Trio die to use for my clouds and cut some actual clouds using Lawn Fawn’s Blue skies cloud die. I stamped out a hill of envelopes using Tim Holtz distress inks and used water to liquify the envelopes.  I also embossed the sentiment “Late but with Love” using Rangers’ Liquid Platinum.  For a Full Tutorial on how i made this card, Please check out my Youtube Channel.  Also, Please press the like button and Subscribe for more inspirations and ideas.  Much Mahalo:)

http://www.enjoyscrappin2.com
https://www.youtube.com/channel/UCSmaap84Uvp7NPOcnJXGV9A
Instagram, Twitter, Tumbler, Flickr, Bloglovin
@enjoyscrappin2
#enjoyscrappin2
FB: Joyce Nakaoka

Gerda Steiner Designs Penguin on a Present

IMG_7357.JPG

IMG_7355.JPG

IMG_7356.JPG

Aloha Guy!

Today I’m sharing this card I made using this super adorable penguin from Gerda Steiner Designs stamp.  This penguin is available in both Rubber and Digital Format.  He is the most cutest penguin ever!! I used the digital format and the presents that he’s standing on top of is available in digital form along with the present on his hand.  You can purchase these items from the links below if you’re interested.  I first placed the penguin on top of these present’s and also placed the present in his hand and printed him out.  I cut the entire image using the Lawn Fawn’s Large Stitched Rectangle die and cut another rectangle using the bigger die for the stitched edges.  The Christmas tree I used on this card is from Stampin Up and it’s from the last years collection.  I colored the penguin and the gifts using my Copic Markers and I Stamped the tree overlapping both rectangles.  I used some stickles to decorate the trees and to give it a sparkly look and also added the stickles to his Santa Hat.  This is a pretty simple card and I hope you guys like this card.  I have a full tutorial for this card on my Youtube Channel if you like to check that out.  Thank you so much for visiting and please subscribe for more inspirations and ideas.  Thank you and Much Mahalo

http://www.enjoyscrappin2.com
Youtube: http://youtube.com/channel/UCSmaap84Uvp7NPOcnJXGV9A
Instagram, Twitter, Flickr, Bloglovin
@enjoyscrappin2
#enjoyscrappin2

Gerda Steiner Designs-December Challenge Pop Up Card

IMG_7343.JPG

IMG_7345.JPG

IMG_7346.JPG

Aloha Guys!

Today I made a card for the Gerda Steiner Designs December Challenge, which is to either use this Angel with lights or the Angel with the Merry Christmas Banner.  This is part of Gerda Steiner Designs Progressive Challenges  where is you purchase either her Rubber stamps or her Digital image and participate in her monthly challenge she’ll send you a FREE stamp for the next months challenge.  So it can go on and on, as long as you participate.  FREE Digital image!! Awesome!!  I have all the links below if you want to check that out.  Anyways, today I decided to make a Pop up card since I haven’t made on in awhile.  I’m using a Stampin Up pop up card die that is discontinued I don’t know why, this die was amazing.  It does the whole work for you and it’s so easy to make a very easy pop up card.  I printed this Angel with the Lights, I printed both but I’ll be using only one today.  I colored her with my Copic Markers and die cut a Stitched Rectangle out of Lawn Fawn’s Large Stitched Rectangle die and I also cut a DSP and a Vellum with the same rectangle die.  I wanted to mute the background paper a bit with vellum because I wanted the her to really Pop.  I stamped out a sentiment in 2 colors using Stampin Up Joy to the world stamp and I popped up this panel using foam adhesive.  For my Pop up in the inside, I cut out the same shape that matched up with the pop up prtion and used Festival of Trees stamp set from Stampin Up with Mossy meadow.  I used Real Red for the little dots that go inside the trees.  I stamped out the 3rd tree using the same ink and cut it out and put red, yellow and green rhinestones as the lights for the tree and put it between the 2 trees.  This finishes off my card for today and I have a Full tutorial on how I made this on my Youtube Channel if you like to check that out.  Thank you so much for visiting and don’t forget to subscribe for more inspirations and ideas.  Also, check out the links below for supply list.  Thank you and Much Mahalo

http://gerdasteinerdesigns.com/new-page-2/

http://www.enjoyscrappin2.com

Youtube: http://youtube.com/channel/UCSmaap84Uvp7NPOcnJXGV9A

Instagram, Twitter, Flickr, Bloglovin
@enjoyscrappin2
#enjoyscrappin2


I was Chosen as Top 3!!!

Aloha Guys!

I’m Super Excited to share with you My card was chosen as Top 3 for Gerda Steiner Designs Challenge for Setember!! I’ve never been chosen for Anything before so this is a Huge Deal for me.  Thank you so much to Gerda Steiner for noticing my Card.  This Inspires me to make more creations featuring her Products.  Thanks Gerda!  Please check out http://gerdasteinerdesigns.com/blog/  for the other 2 and the winner of the Challenge and join in on the fun:)  Thanks again!

Top 3

Top 3