Lawnscaping Challenge 95-White on White

Lawnscaping Challenge 95-White on WhiteIMG_7280.JPG

Aloha Guys!

I posted this last week on my blog and I want to post this in the New Lawnscaping Challenge 95, which is White on White. I thought this was a perfect card for this challenge because I like this simplicity of this white on white card with the subtle embossing of this focal Stars. It’s simple yet very elegant and I love the cleanness of this card. I hope you like this card for this challenge and Thank you so much. Much mahalo

http://www.enjoyscrappin2.com
Youtube: http://youtube.com/channel/UCSmaap84Uvp7NPOcnJXGV9A
Instagram, Twitter, Flickr, Bloglovin
@enjoyscrappin2
#enjoyscrappin2

Paper Smooches-Hooties And Stampin Up

IMG_7286.JPG

IMG_7285.JPG

Aloha Guys!
Happy Cyber Monday, I hope you guys are getting some goodies since there’s so many great sales going on all over the Internet. I love Black Friday and Cyber Monday’s. I look forward to these more than Christmas, lol. Anyways, today I’m sharing a very quick card I made using the Paper Smooches Hooties Stamp set and the trees from the Stampin up White Christmas stamp set. I stamped out the 2 owls with Archival jet black ink on some watercolor paper because I’m going to be Watercoloring the owls with my watercolor Paints. I also stamped out one of the branches from the Hooties set and I freehand the tree trunk for the branch and ran it through my woodgrain embossing folder to make the tree more realistic. I sponged on some tim Holtz distress walnut stain all over the tree trunk and placed it on the left side of the card.  I them took part of the tree from the Stampin Up White Christmas stamp set that I cut out and stamped them across the bottom portion of the card using the Walnut stain distress ink.  I used both the first generation and the second to make it look like a forest in the background.  I cut out 2 hills with brown card stock and also sponged it with walnut stain.  I put the hills using foam adhesive and glue at the bottom to give more detention and placed the tree and the 2 owls on the tree trunk.  I put some shiny hearts that I cut out using the Mama Elephant’s confetti die that I keep in a separate container with all different colors to finish of this card.  I hope you like this card and I also have a Full Tutorial on how I made this card on my Youtube channel if you like to check that out!  Thank you so much for all your support and Please subscribe if you haven’t already for more inspirations and ideas.  Much Mahalo.

http://www.enjoyscrappin2.com
Youtube: http://youtube.com/channel/UCSmaap84Uvp7NPOcnJXGV9A
Instagram, Twitter, Flickr, Bloglovin
@enjoyscrappin2
#enjoyscrappin2

Stampin Up! CAS Holiday Cards

IMG_7281.JPG

IMG_7280.JPG

Aloha Guys!

HAPPY THANKSGIVING!! I hope you’re enjoying your day with your Family, I know I am. Today I made a simple CAS Card that I’m going to mass produce for this Holiday Season! I’m using the Stampin Up’s Bight&Beautiful stamp set. I used the Mama Elephants Femm frame scalloped die and cut 4 scalloped card bases. I embossed the 2 size stars with Ranger Liquid Platinum embossing powder. I used the sentiment from the same stamp set and also embossed it with the same embossing powder. I cut out the smaller star using the matching star Framelits and popped it on top of the big star. To finish it off, I used clear gemstone right in the center of the star. Super simple Elegant card that you can mass produce for this Holiday season. This star can be used throughout the year as well. For a full tutorial on this card, please visit my YouTube channel. If you like this card, please subscribe for more inspirations and ideas!! Thank you so much and happy Thanksgiving again! Much Mahalo:)

http://www.enjoyscrappin2.com
Youtube: http://youtube.com/channel/UCSmaap84Uvp7NPOcnJXGV9A
Instagram, Twitter, Flickr, Bloglovin
@enjoyscrappin2
#enjoyscrappin2

Gerda Steiner Designs-Dog on a Scooter Shaker Card

IMG_7303.JPG

IMG_7304.JPG

IMG_7302.JPG

Aloha Guys!
Today I’m bring you another Shaker card using the Gerda Steiner Designs Dog on a Scooter digital stamp. I am SUPER EXCITED to tell you guys that I am on the Gerda Steiner Designs Deaign Team!!! YAY😁 I am Super Excited and Honored that she invited me to join her Awsome Team!! WooHoo!! I made this card last week, even before joining her team because I just adore her super cute images. I used this Dog because he was super cute riding his little scooter with his safety helmet and I decided to make a scenic background as a shaker part of my card. I cut out a Polaroid part using MFT’s stitched Square die. I colored the dog using my Shinhan touch alcohol makers. I made the scene by cutting out the tree border die from Lawn Fawn with the green textured paper and used the Mama Elephant’s landscape trio die to cut the cloud looking die. I used that as my stencil to put some color for the sky. I have a full tutorial for this card on my YouTube channel if you’d like to check that out.  Also check out all the cute images that Gerda has on her website which I’ll put a link below.  Thank you so much for visiting and please subscribe for more inspirations and ideas.  Much Mahalo

http://gerdasteinerdesigns.com

Youtube:http://youtu.be/TfVVgKHC1AU

http://youtube.com/channel/UCSmaap84Uvp7NPOcnJXGV9AInstagram, Twitter, Flickr, Bloglovin

@enjoyscrappin2

#enjoyscrappin2

Hero Arts and Stampin Up-IPhone Shaker Card

IMG_6172.JPG

IMG_6171.JPG

IMG_6173.JPG

Aloha Guys!
Today I just wanted to share with you this card I made using the Hero Arts Stamp set. It’s a phone so I put my sentiment on the inside to make it look like a text. This is a perfect image to make it into a shaker card. I loved how it came out. I made this card some time ago and I’m not sure if I posted this or not so I decide to post it. The background stamp is Stampin Ups Dictionary stamp, that I use often since it’s so versatile. I hope you like this card and please subscribe for more inspiration and ideas! Much Mahalo.

Youtube: http://youtube.com/channel/UCSmaap84Uvp7NPOcnJXGV9A
Instagram, Twitter, Flickr, Bloglovin
@enjoyscrappin2
#enjoyscrappin2

The Greeting Farm-Sparkling Mermaid Anya

IMG_7309.JPG

IMG_7310.JPG

IMG_7311.JPG

Aloha Guys!
Today I made this card for The Greeting Farm Fresh Challenge, make it Sparkle & Shine! I stamped the Mermaid Anya on a watercolor paper and cut the stitched square die using the MFT’s die. I put Washi tapes around the stitched part because I wanted to leave that area clean. I then Watercolored her using my paints and after the coloring was dried completely, I added the iridescent confetti thing all over her mermaid tail to achieved that sparkling scale on her tail. I cut out 2 scalloped border die using Mama Elephants landscape trio die and attached it to this patterned paper from my stash.  I also used a white doily and died it with light teal looking color and put that right behind Anya.  For added detail, I attached some sequins to match the background colors.  Thank you so much for visiting and please subscribe for more inspirations and ideas.  Much Mahalo

http://www.enjoyscrappin2.com
Youtube: http://youtube.com/channel/UCSmaap84Uvp7NPOcnJXGV9A
Instagram, Twitter, Flickr, Bloglovin
@enjoyscrappin2
#enjoyscrappin2

Gerda Steiner Designs Owl Wish you a Merry Christmas-Spectrum Noir

IMG_7297.JPG

IMG_7296.JPG

IMG_7295.JPG

Aloha Guys!
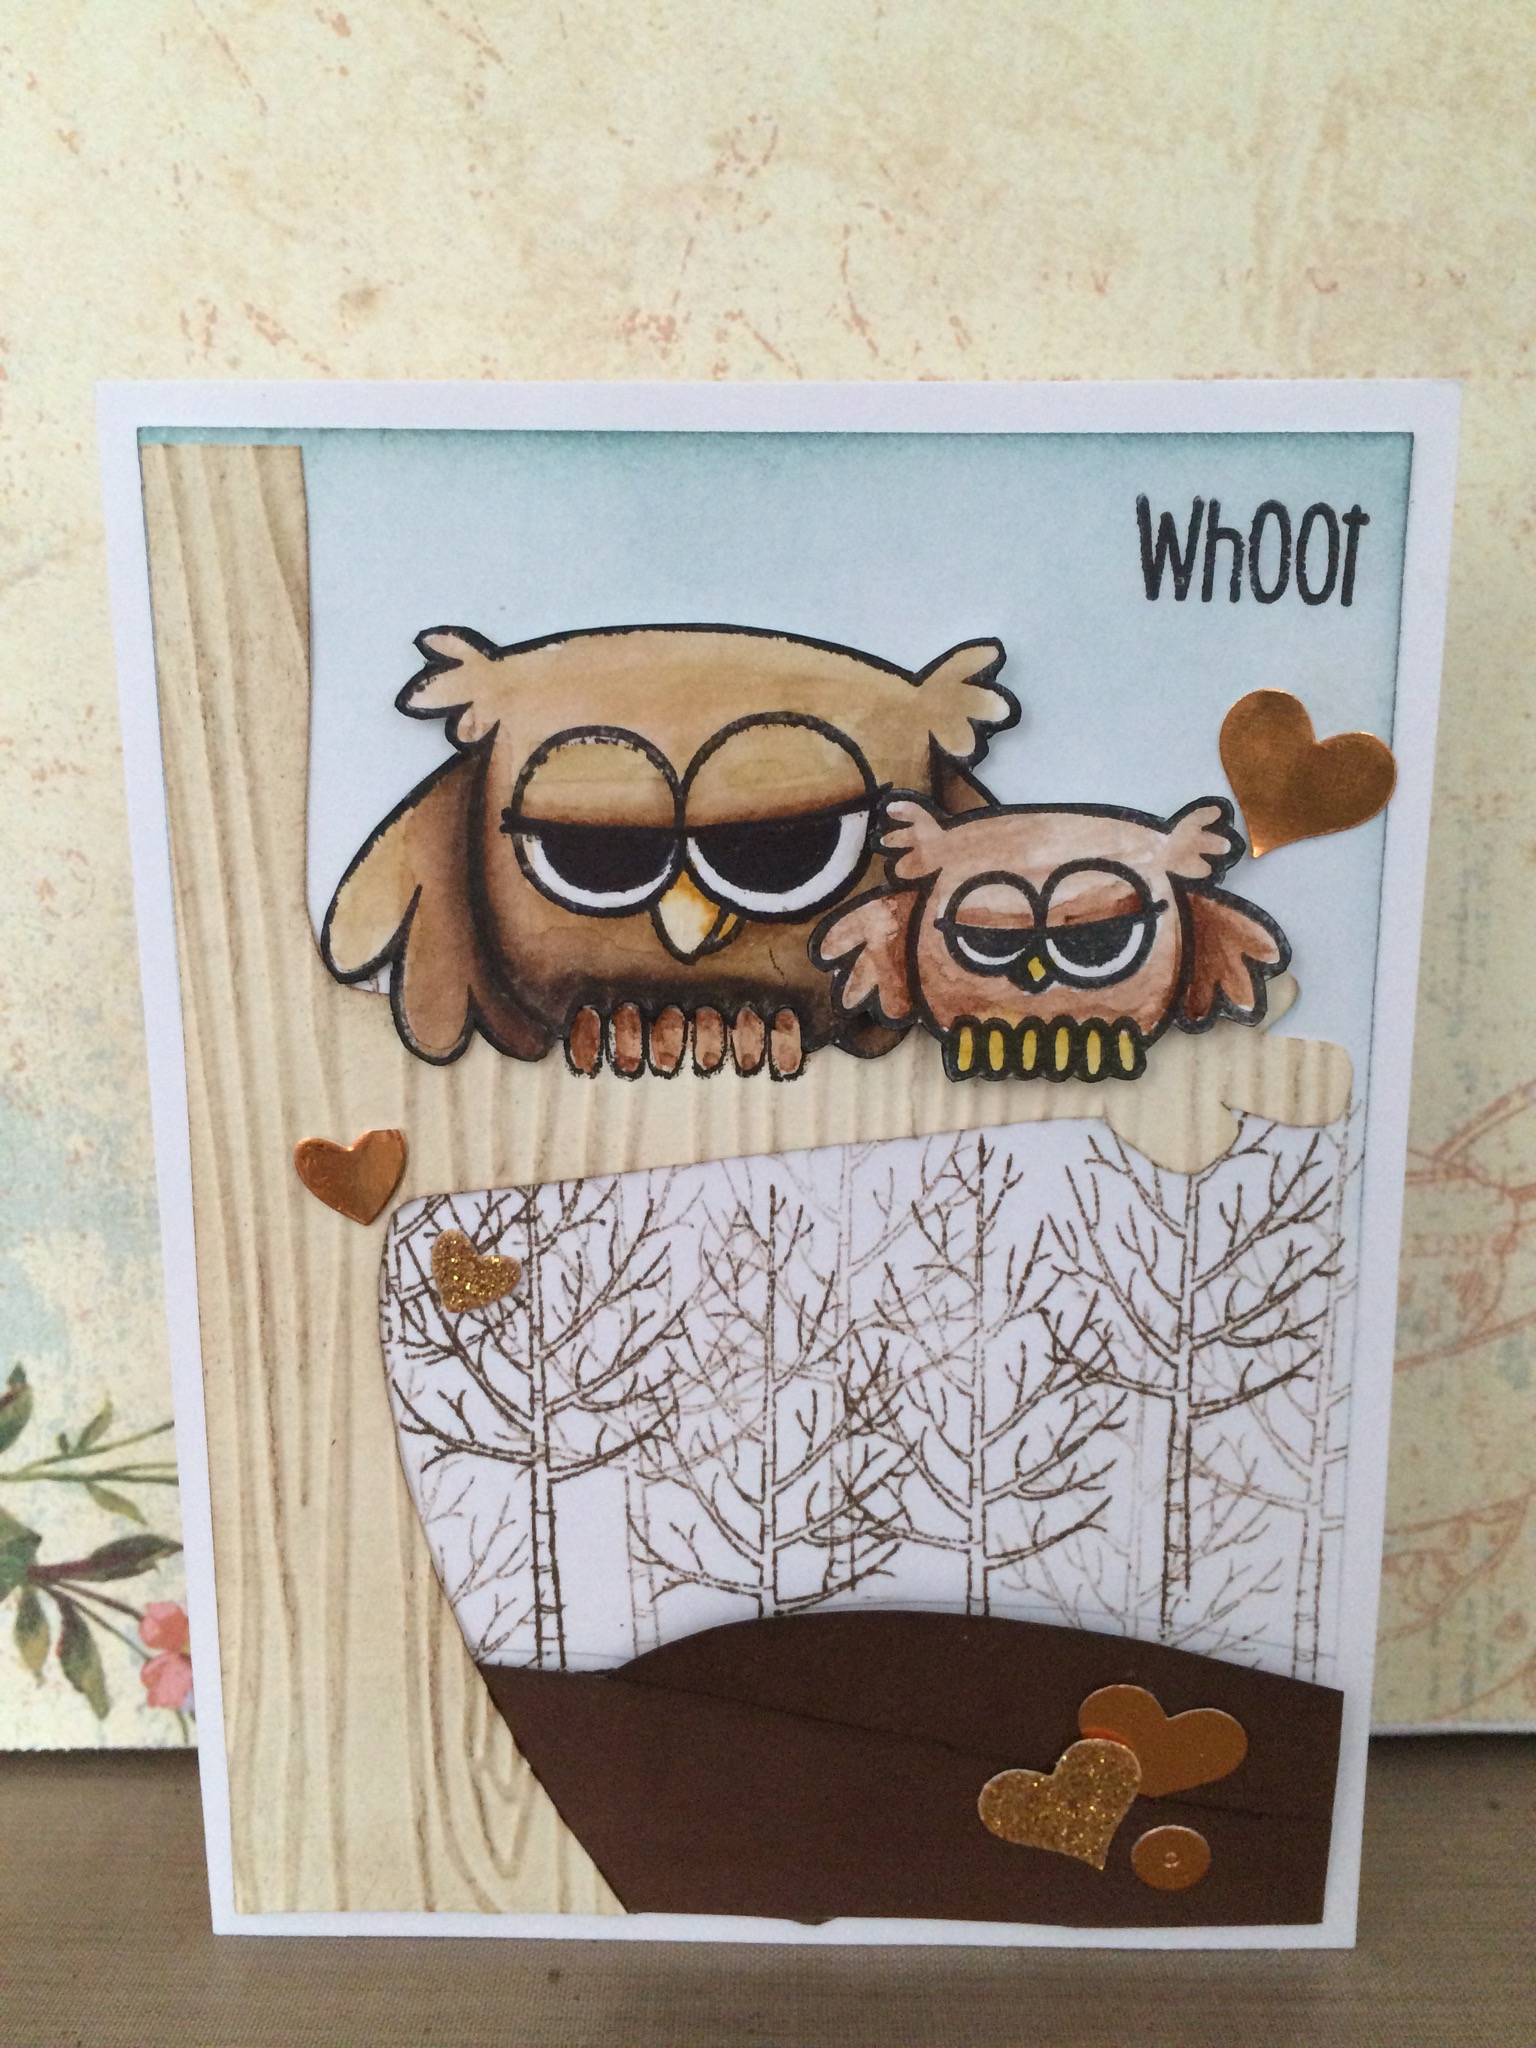
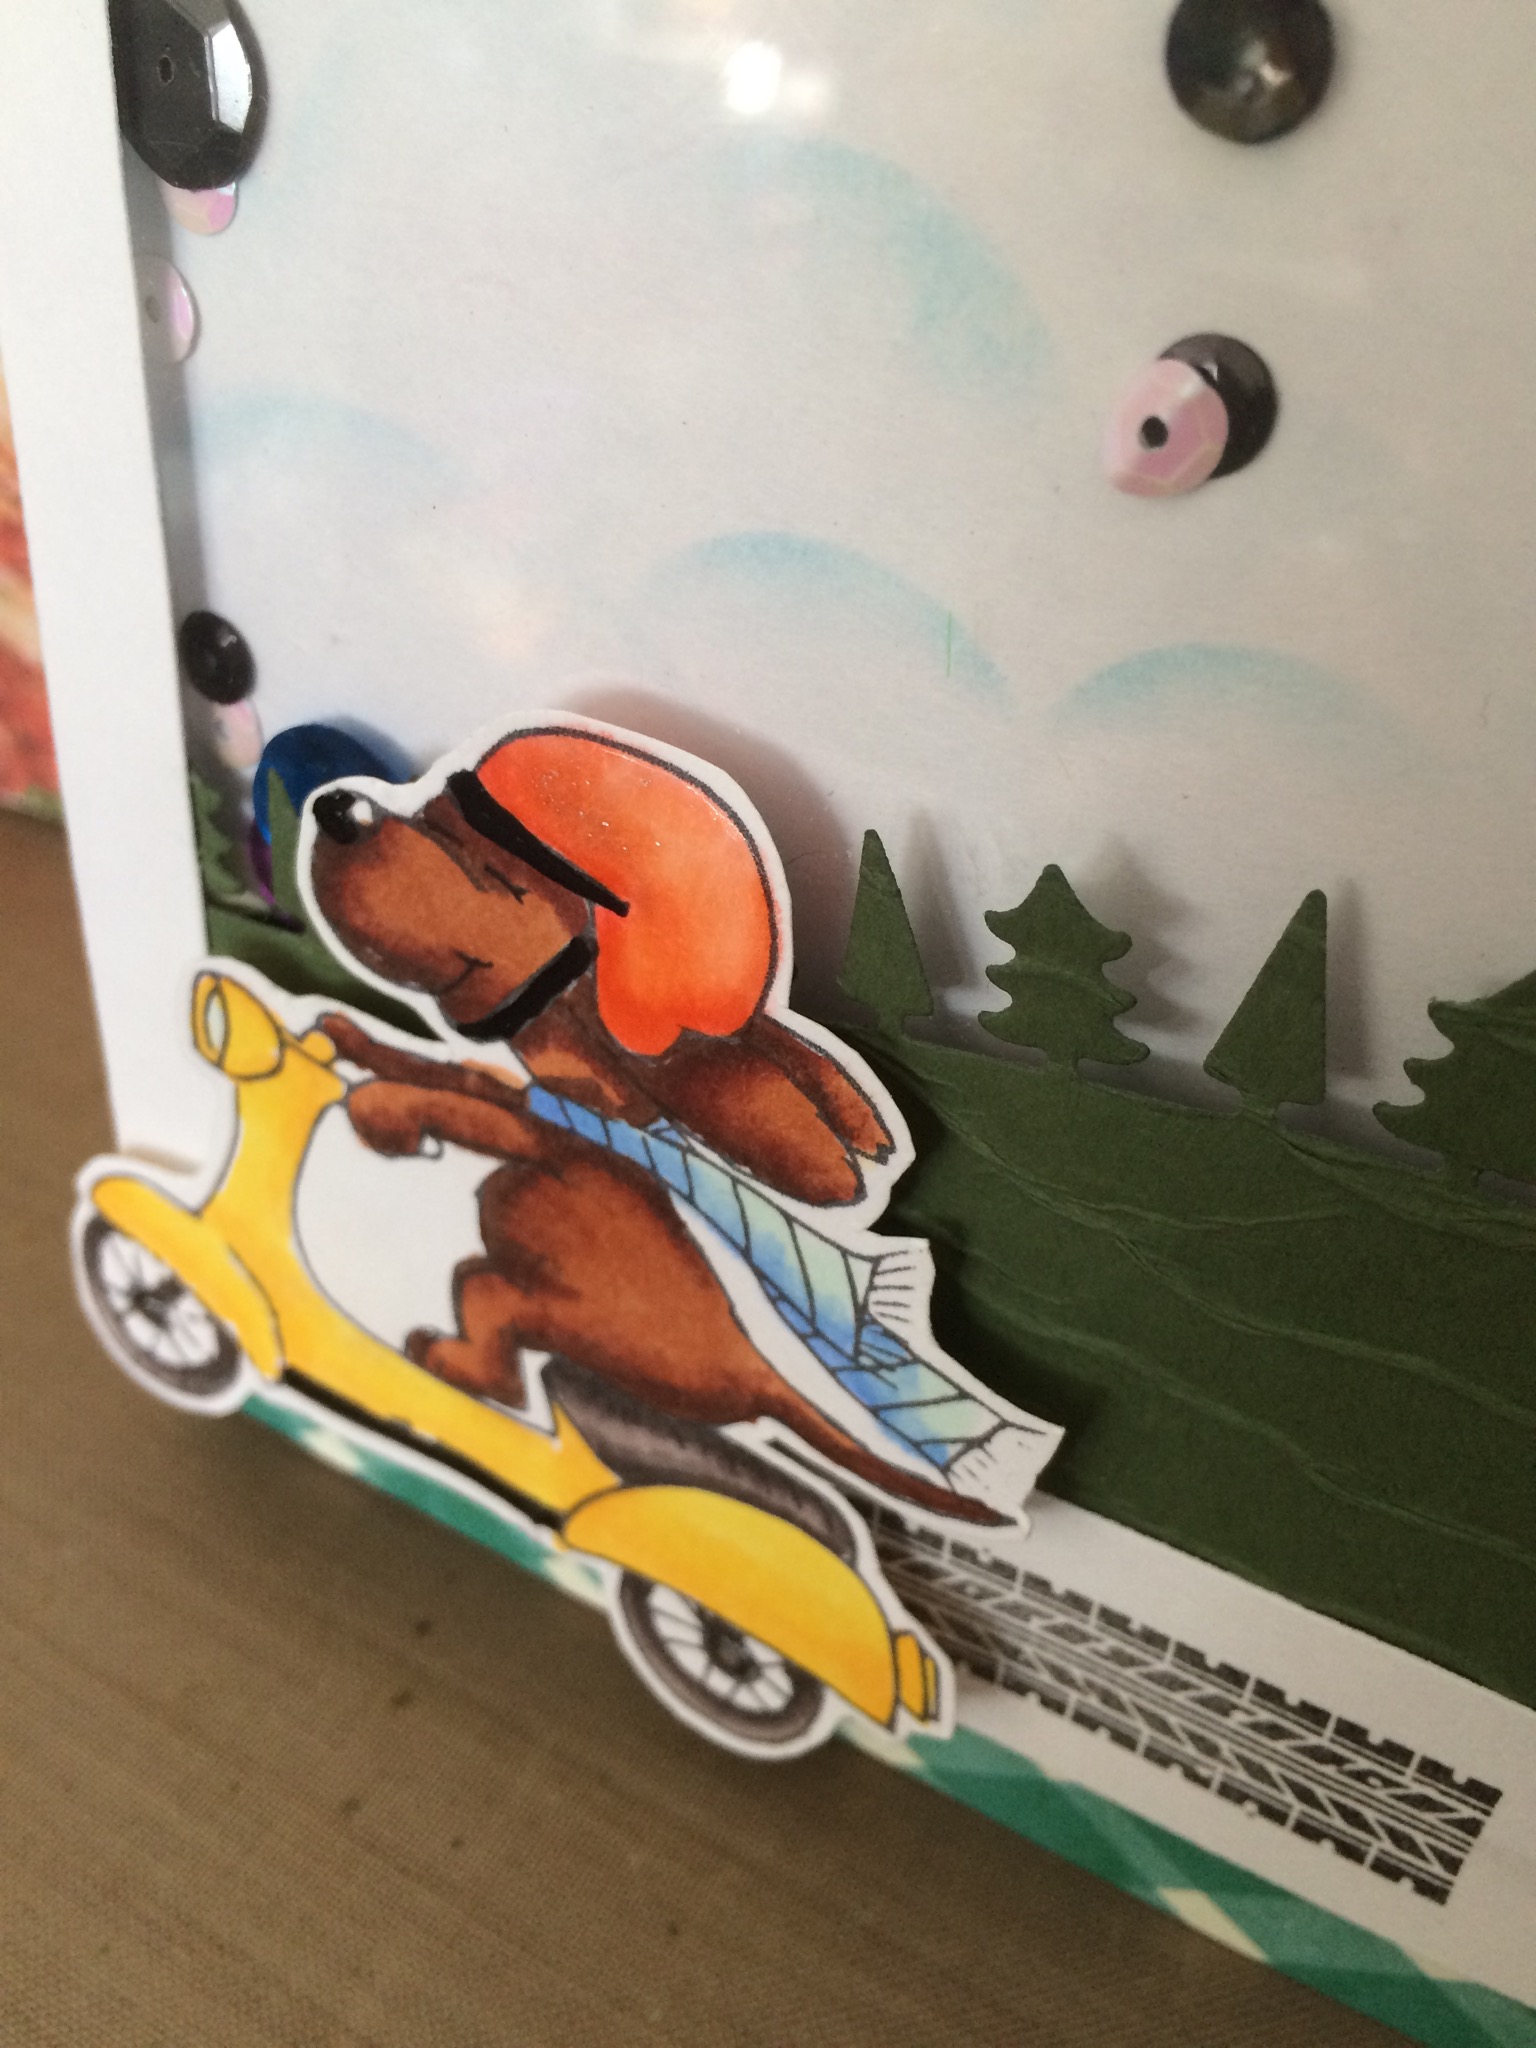
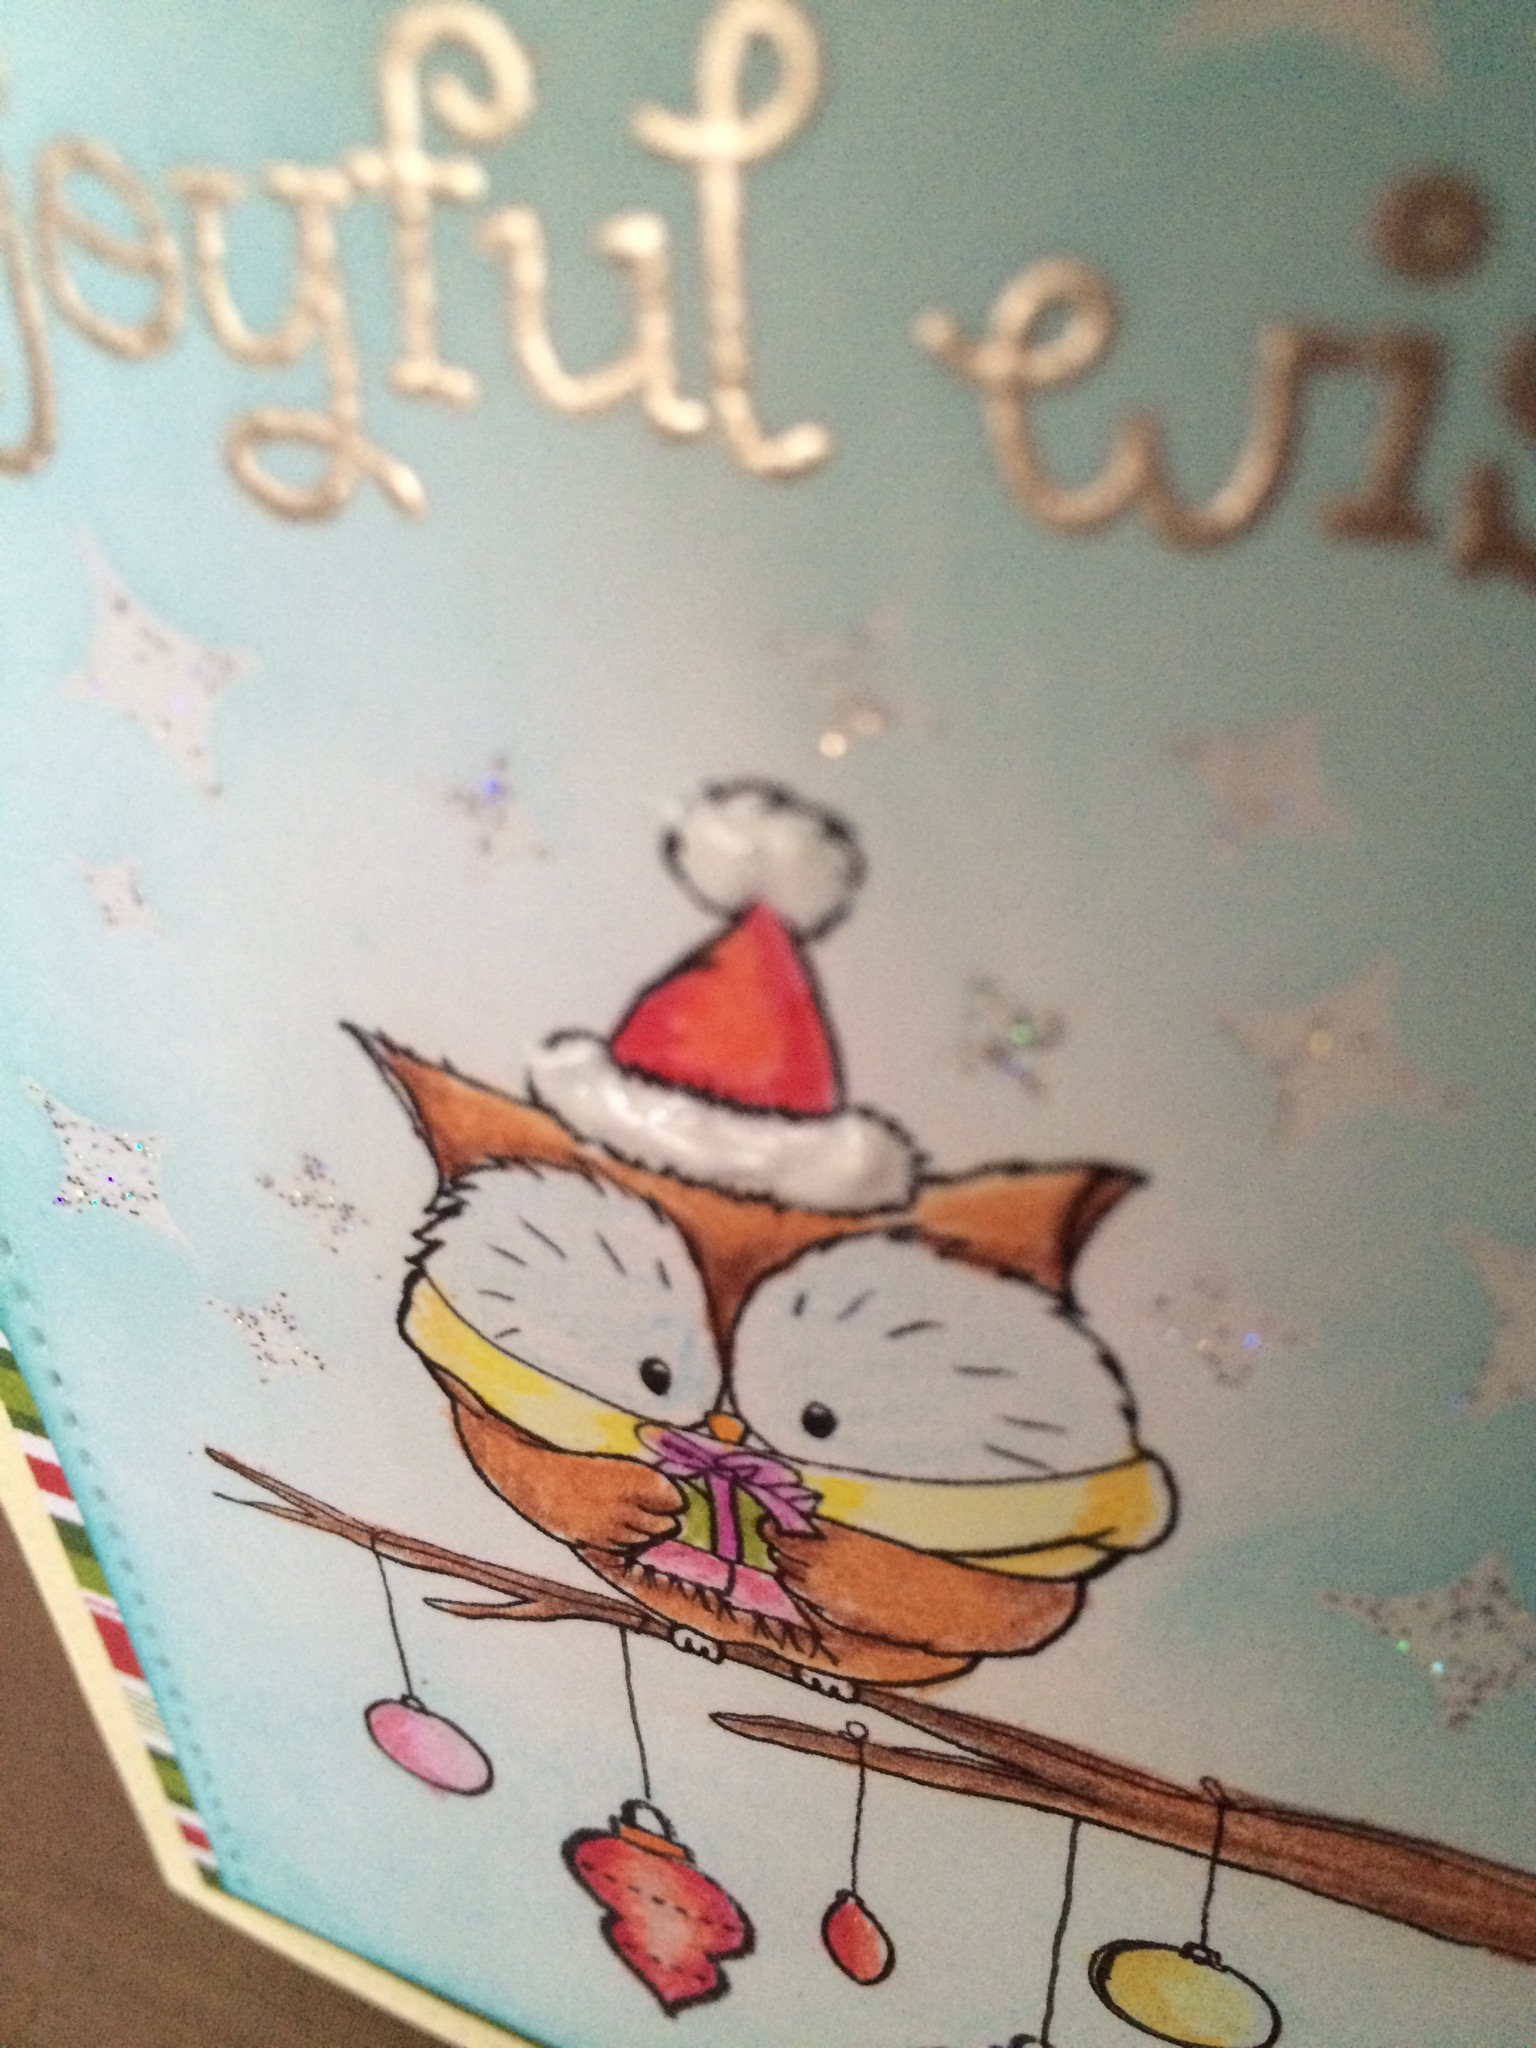
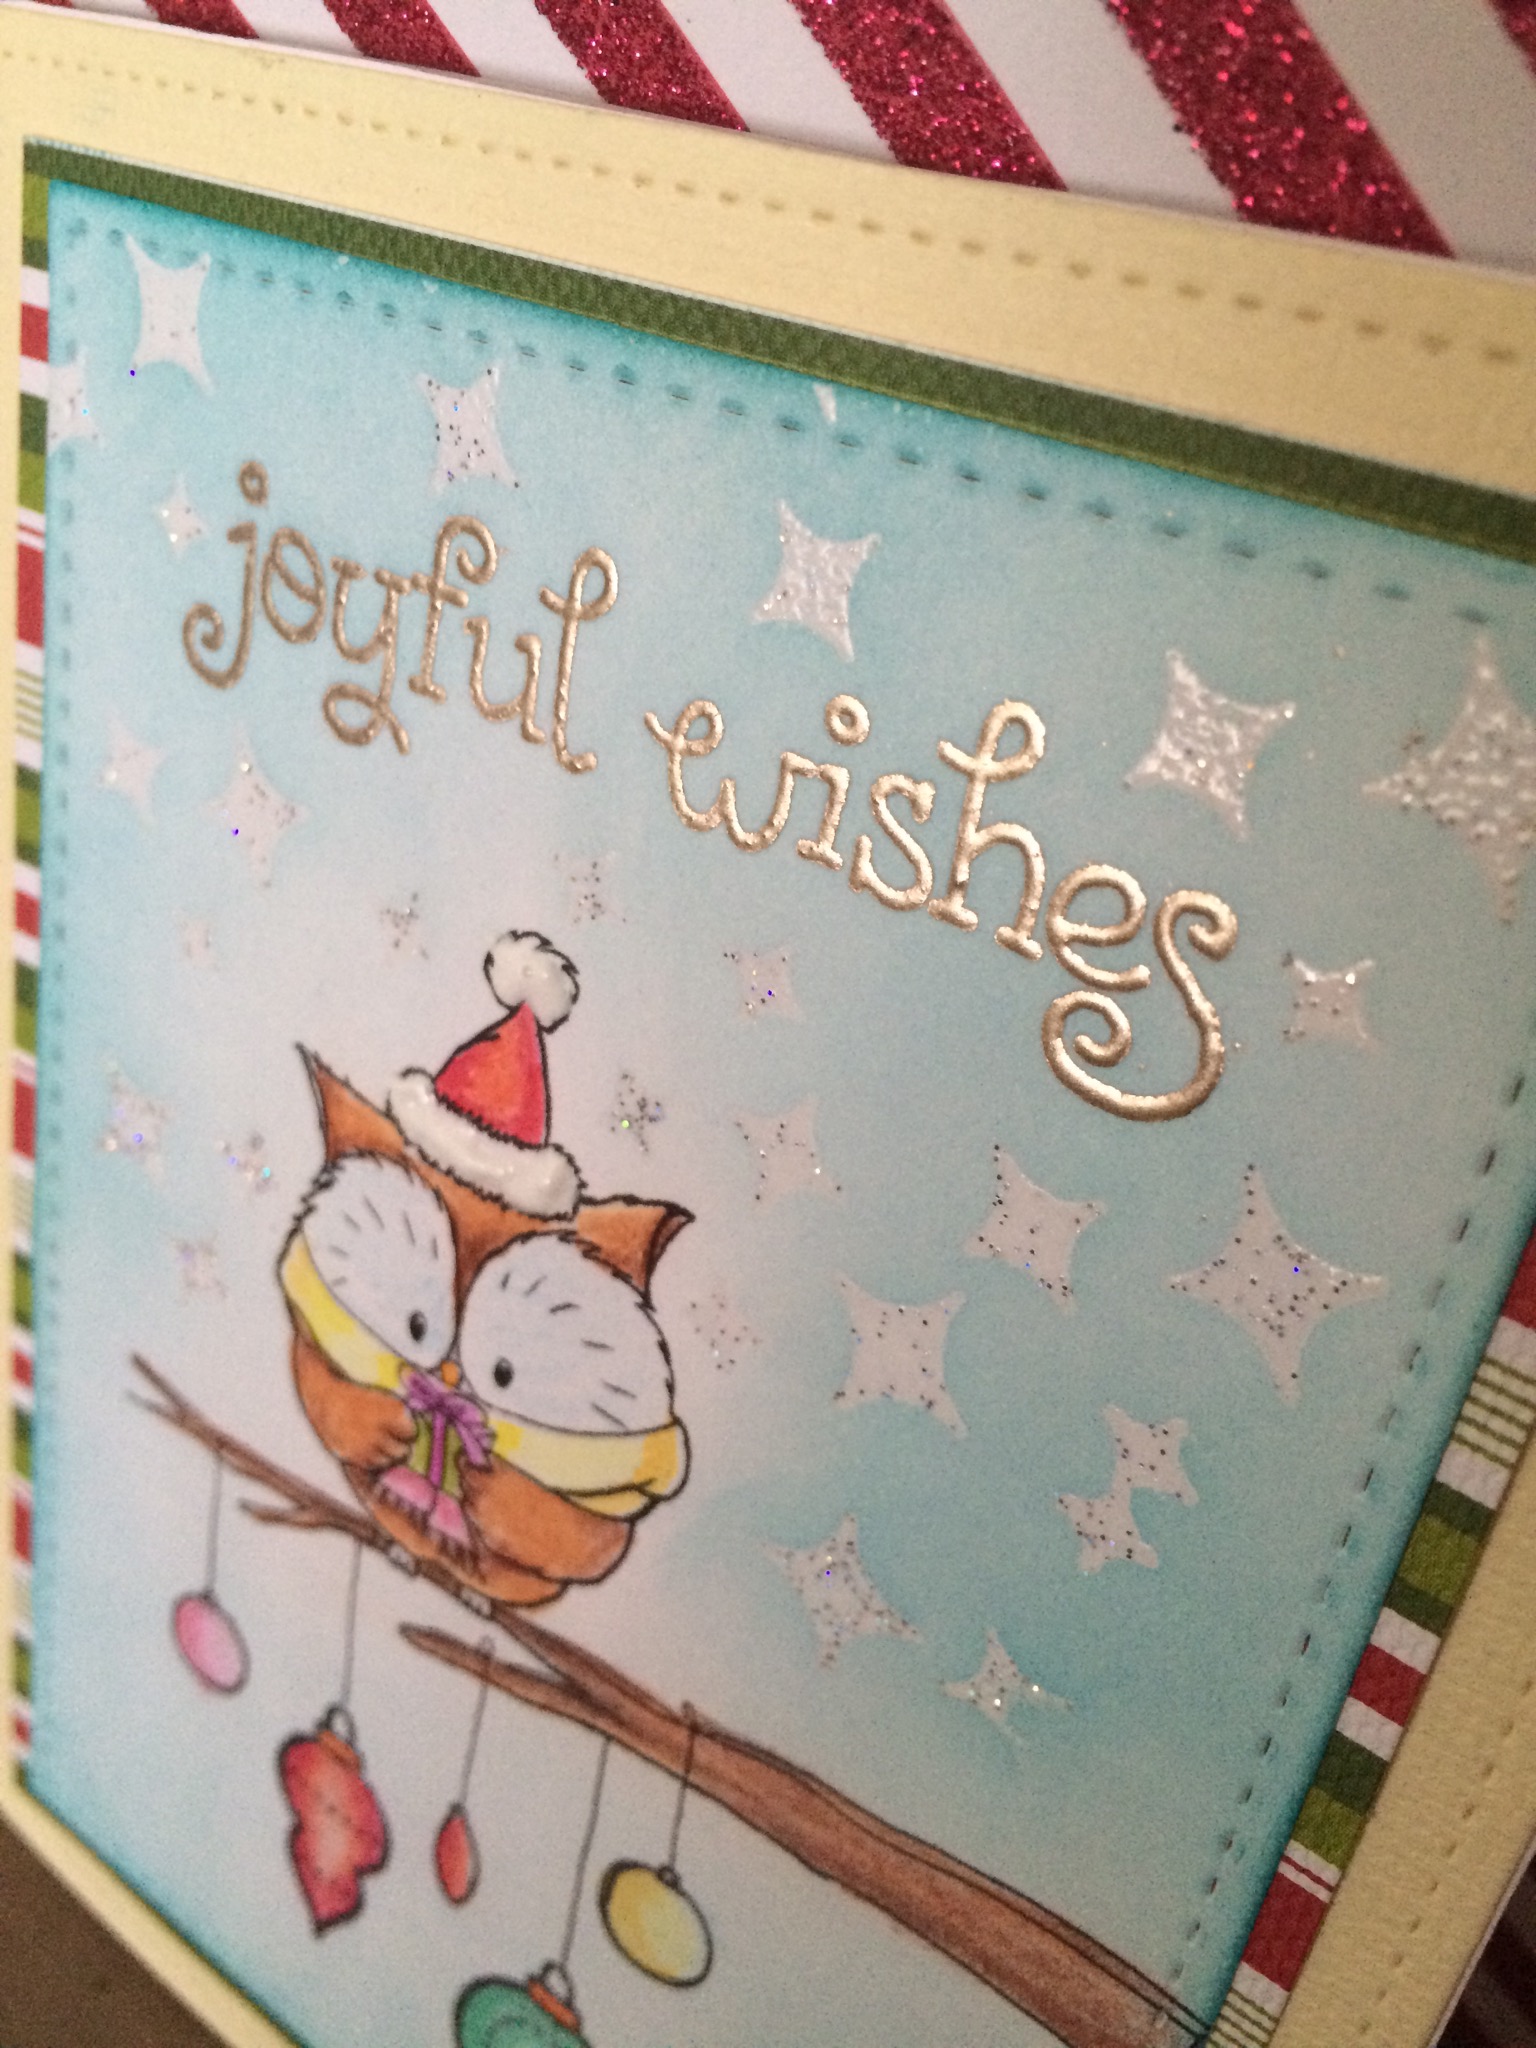
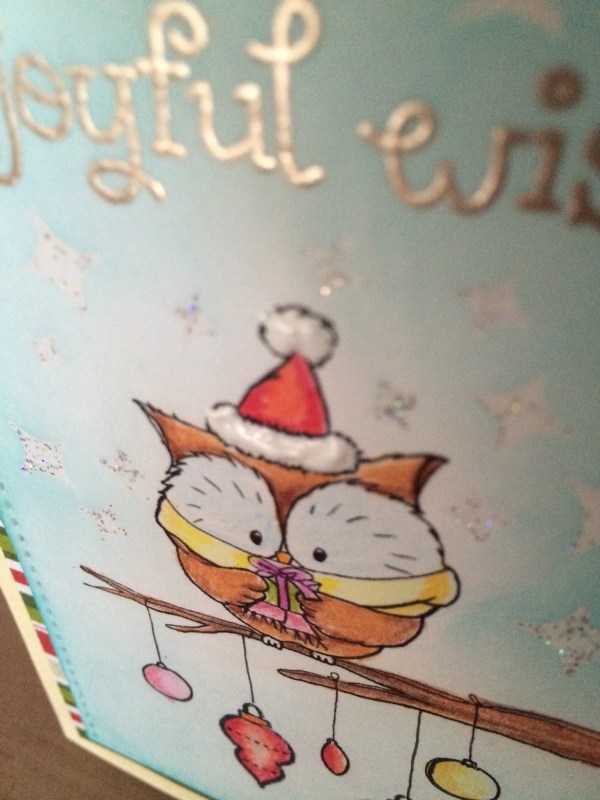
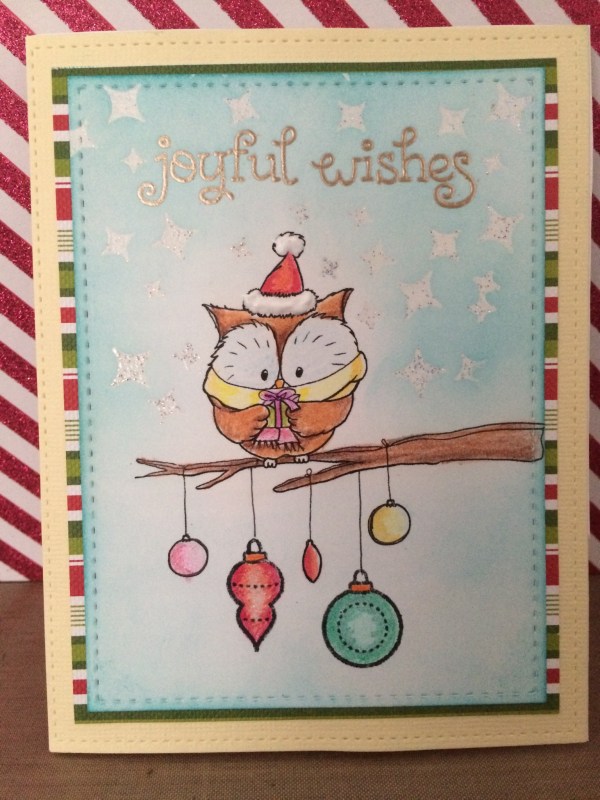
Today I’m sharing this card I made using Gerda Steiner Designs Owl wish you a Merry Christmas digital stamp. This owl is super cute with his Big Owl Eyes!! Btw, you would of gotten this image for FREE if you participated in her last months challenge. She does this progressive challenges that if you participate in her monthly challenge, she’ll send you an image for FREE for the next months challenge. That’s Awesome and Super generous of her, so go ahead and check out her site and participate in her challenges. Ok back to this card, I colored the owl using my New Spectrum Noir colored pencils and I really love how it blends so well together. I added some additional ornaments from the Lawn Fawn’s Joyful greetings stamp set and I also used the sentiment from that set as well. I embossed the sentiment using Rangers liquid platinum embossing powder. I also used the Winnie&Walter stamp set that I just got and embossed the little diamond shapes using one of my glittered embossing powder which I don’t know what company it’s from.  I distressed the whole panel that the owl is one with Tim holtz peacock feathers distress ink so the diamond shaped background that I created for the owl will show up.  I cut this panel using the Mama Elephant’s Femm frame die so it has sticking all around the rectangle.  after coloring all the images, I attached it to a patterned paper which is just a traditional Christmas colors and attached the entire panels to the very vanilla frame I cut using the Lawn Fawn’s Stiched rectangle die.  Pretty simple card, I really wanted this cute owl to be the focus of this card.  I added some sequins to finish up the card!  Thank you so much for visiting and I have a Full tutorial on how I made this card on my youtube channel.  Thank you so much and go ahead and check out Gerda’s other images in the link below!  Much Mahalo.

https://gerda-steiner.squarespace.com/new-page-2/

https://www.youtube.com/watch?v=BUGAmmYlelYYoutube: http://youtube.com/channel/UCSmaap84Uvp7NPOcnJXGV9A

Instagram, Twitter, Flickr, Bloglovin
@enjoyscrappin2
#enjoyscrappin2

Create A Smile-Boy Birthday Card

IMG_7299.JPG

IMG_7298.JPG

Aloha Guys!
Today I made this Birthday card for a Boy using Create A Smile freebies.  I love this little monster and I just had to use him.  I have a harder time making boy cards for some reason and this was a perfect image for a birthday or any occasional card.  I printed these monsters on a watercolored paper and colored them using my Chalk Pastel blocks.  I did a video not too long ago using my Prismacolor Nupastels and I wanted to show you guys that you can use them as a watercolor pallet as well.  I colored them in different colors to match the design paper, I thought these were fun and happy colors.  I also cut a frame out using this bright green paper with Lawn Fawn’s Large rectangle die.  I just put all the things together and this is how it turned out.  I thought this was really cute and I’ll probably use them again.  I have a full video tutorial on how I made these so please check them out if you’d like.  Also please subscribe for more inspirations and ideas.  Much Mahalo

http://youtu.be/PsPUfJW13l4Youtube: http://youtube.com/channel/UCSmaap84Uvp7NPOcnJXGV9A
Instagram, Twitter, Flickr, Bloglovin
@enjoyscrappin2
#enjoyscrappin2

http://www.createasmilestamps.com

Gerda Steiner Design-Snowman with Stampin Up Markers

IMG_7294.JPG

IMG_7293.JPG

Aloha Guys!
Today I’m posting this card j made using Gerda Steiner Designs digital image called Snowman. I love this snowman!! Especially the fact that the little bird is sitting on top of the snowman’s carrot nose. I cut the all the top portion of the snowman because I wanted to make a background for this snowman. I cut a DSP which was last years collection with the scallop rectangle die from Mama Elephants Femm frame die. I also cut a piece of vellum using the rectangle die from the same set.  I used one of the Stampin Up stamp set Gorgeous Grunge and used the Encore Silver Pigment ink and embossed it using clear embossing powder to give more shine to the vellum.  For the background design paper, I used the negative cut of the tree from the Simon Says Stamp Home for the Holidays as my Stencil.  I thought it would make a perfect tree background for this card.  I used Avery Elle’s pigment ink to color in the trees since the pigment is more opaque than die inks.  I sponged it using this sponge dauber thing I made using the idea from the frugal crafter.  You can check out her channel if you want to make this.  The tree background was  perfect, I love how it turned out.  I attached the pieces together using some AGT gun and some glue.  For the snowman, I watercolored him using Stampin Up’s markers and I also cut out some snow banks using both the Lawn Fawn’s border die and the Mama Elephant’s Trio die in both white card stock and vellum of the snow.  I cut a duplicate of the bird and attached it on top of the snowman’s hat!  For a complete tutorial for this card, please check out my Youtube channel.  I know many people are doing Holiday Series but I want to put a focus on all the different mediums to make any card, even for Christmas:)  I thank you guys so much for visiting and I hope I inspired you to go and make your creations. Please subscribe for more inspirations and ideas:)  Much Mahalo.  Also, check out http://www.gerdasteinerdesign.com for this cute snowman and more adorable images.  Thanks

http://www.enjoyscrappin2.com
Youtube: http://youtube.com/channel/UCSmaap84Uvp7NPOcnJXGV9A
Instagram, Twitter, Flickr, Bloglovin
@enjoyscrappin2
#enjoyscrappin2

http://www.gerdasteingerdesigns.com

Quick and Easy Money Holder for the Holidays

IMG_7266.JPG

IMG_7265.JPG Aloha Guys!

Today I want to share with you on how I made these Quick and Easy Money Holder for the Holidays.  I don’t know about you guys but I give a lot of Gift cards and $$ for the Holidays especially for the teenagers in our family that only want the cash, lol.  So I make a ton of these and Gift card holders during the Holidays to have on hand.  This is a simple way to dress up this money holders and I just attach a tag or something and give it as is as a gift without putting it in the envelopes and also use it as stocking stuffers as well.  For the specific measurements please watch the tutorial I have on my Youtube Channel.  Sorry, I forgot the measurements to give you right now but I’ll repost it once I get the exact measurements.  It’s a very simple measurement and one score line and that’s how simple it is.  You can definitely dress it up as you want but this is just how I like to make these for my own use.  Thank you so much for stopping by and please subscribe for more inspirations and ideas.

Much Mahalo

http://www.enjoyscrappin2.com Youtube: http://youtube.com/channel/UCSmaap84Uvp7NPOcnJXGV9A Instagram, Twitter, Flickr, Bloglovin @enjoyscrappin2 #enjoyscrappin2